You
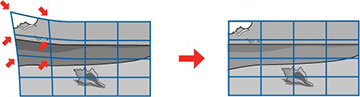
can use the projector's Point Correction feature to fine-tune the
image shape using points on a grid. This is useful for adjusting
overlapping areas in multiple projected images that do not line up
correctly.
- Turn on the projector and display an image.
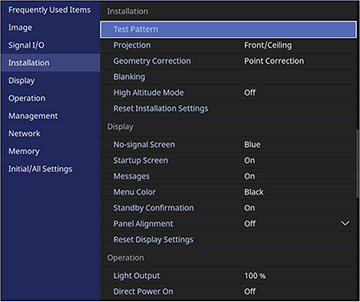
- Press the Menu button.
- Select the Installation menu and press Enter.
- Select the Geometry Correction setting and press Enter.
- Select the Point Correction setting and press
Enter.
Note: If you see a confirmation message, select Yes and press Enter.
- Select Point Correction again and press Enter.
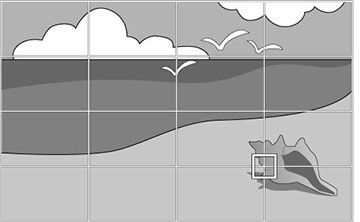
Note: For fine tuning, select Quick Corner to roughly correct the shape and size of an image and then select Point Correction to adjust them more precisely.You see a grid on the projected image.Note: If you want to change the color of the grid lines, select the Pattern Color setting and select a color.
- Select Point Correction, then select the grid size.
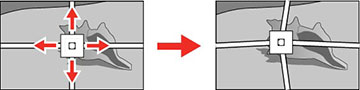
- Use the arrow buttons to move to the point on the grid that you want to adjust and press Enter.
- Use the arrow buttons as necessary to correct the image shape.
- Press Esc to return to the previous screen and select another point to correct, if necessary.
- When you are finished, press the Esc button.