You can load
larger-size paper in the main tray in the paper cassette.
Note: Make sure
the CD/DVD tray is closed.
- Close the output tray, if necessary.
- Open the front cover.
- Pull out the paper cassette.
- Slide in the main tray extension (if it is extended) and flip back the photo tray.
- Pinch the tabs on the main tray edge guides and slide them outward.
- Load a stack of paper, printable side down, in the main tray as shown.
- Slide
the left edge guide to the edge of the paper.
Note: Make sure the paper fits beneath the top edges of the guide.
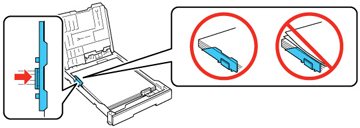
- Slide
the front edge guide to the position marked for your paper
size.
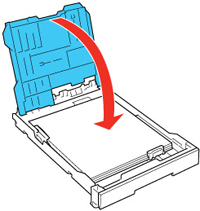
1 Various paper sizes are marked on the tray Note: Make sure the paper fits beneath the top of the edge guide and does not flip up at the back end of the tray. - Lower the photo tray.
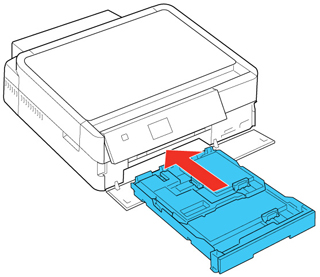
- Replace the paper cassette.
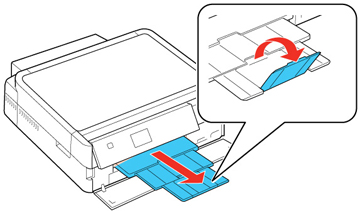
- Extend
the output tray and open the paper stopper.
Note: Do not remove or insert the paper cassette during printing.