You can
select the whiteboard features you want to use and control the way
whiteboard pages are saved in the projector.
Press
the Menu button on the remote
control.
Select
the Extended menu and press
Enter.
Select
Whiteboard Settings and press
Enter.
Select
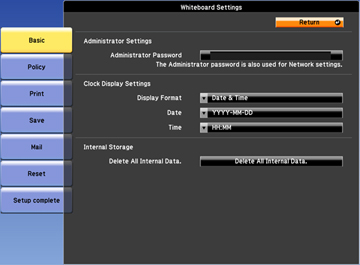
Basic and press Enter.
Select
the following basic options as necessary:
Administrator Password lets you enter a password
up to 16 alphanumeric characters long for controlling whiteboard
settings. This password is also used for network settings.
Clock Display Settings lets you control the date
and time display on the bottom whiteboard toolbar.
Delete All Internal Data lets you delete data
stored in the projector. Use this option if you have problems with
internal storage, or you need to dispose of the projector or have
it repaired.
Note: Use the
displayed keyboard to enter the password. Press the arrow buttons
on the remote control to highlight characters and press
Enter to select them.
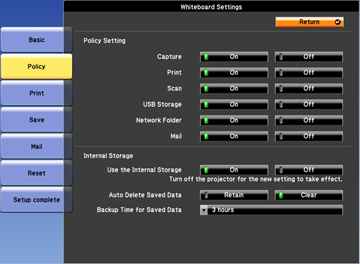
Select
the Policy menu and press
Enter.
Select
the following policy options as necessary:
Policy Setting options let you disable
capturing, printing, scanning, USB storage, network storage, or
emailing from the projector. All features are enabled by
default.
Internal Storage settings let you control the
use of the projector's internal storage. In most cases, you should
leave this setting On, and select
Retain for saved data. The
Backup Time for Saved Data setting
determines how often whiteboard pages are backed up automatically
in case of a power outage.
When you
finish selecting settings, select Setup
Complete and follow the on-screen instructions to save your
settings and exit the menus.