 |
 |
|
||
 |
||||
Setting Up Client Computers for Network Scanning
To allow networking, you must install a Network Interface Card and a Network Interface Card (NIC) driver on each client computer in the network. See the documentation that came with the card for instructions.
Then follow the instructions in this section to set up the TCP/IP protocol on the client computers.
Installing the TCP/IP Protocol
Windows Vista
 |
Click
|
 |
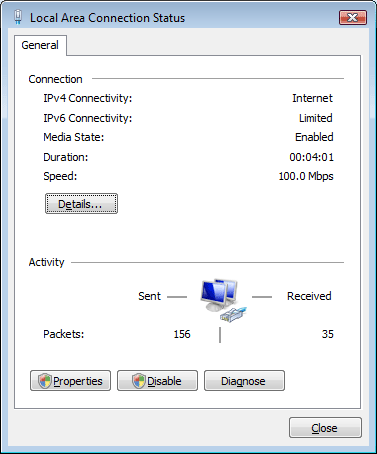
Click View status.
|
 |
Click Properties.
|

 |
Click Continue in the User Account Control window.
|
 |
Make sure the Internet Protocol Version 4 (TCP/IPv4) box is checked in the Local Area Connection Properties window and click OK. Then go to Scanning Over a Network.
|

If Internet Protocol Version 4 (TCP/IPv4) does not appear in the list, go to step 6.
 |
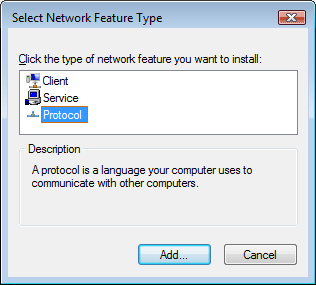
Click Install. The Select Network Feature Type window appears.
|
 |
Select Protocol from the list and click Add.
|

 |
Select Internet Protocol Version 4 (TCP/IPv4) and click OK.
|
 |
Make sure the Internet Protocol Version 4 (TCP/IPv4) box is checked and click OK. Then go to Scanning Over a Network.
|
Windows XP or 2000
 Note:
Note:|
The screen shots in this section show Windows 2000, however, the instructions are the same for Windows XP, except as noted.
|
 |
Windows XP:
Click Start, right-click My Network Places, and select Properties. |
Windows 2000:
Right-click the My Network Places icon and select Properties.
Right-click the My Network Places icon and select Properties.
 |
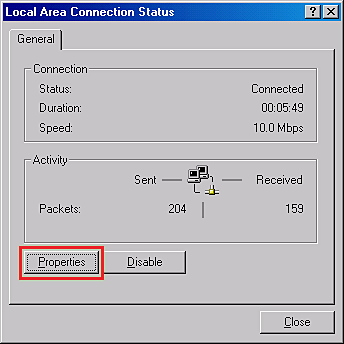
Double-click Local Area Connection.
|
 |
Click Properties.
|

 |
Make sure the Internet Protocol (TCP/IP) box is checked in the Local Area Connection Properties window and click OK. Then go to Scanning Over a Network.
|

If Internet Protocol (TCP/IP) does not appear in the list, go to step 5.
 |
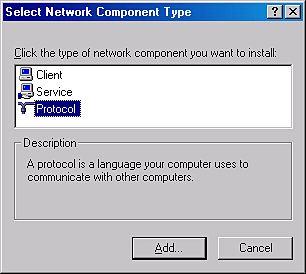
Click Install. The Select Network Component Type window appears.
|
 |
Select Protocol from the list and click Add.
|

 |
Select Internet Protocol (TCP/IP) and click OK.
|
 |
Make sure the Internet Protocol (TCP/IP) box is checked and click OK or Close. Then go to Scanning Over a Network.
|
