Home
Starting a Scan With the EPSON Creativity Suite

When you scan with the EPSON Creativity Suite, you first scan and save the image file using EPSON File Manager. Then you use the other project options in the EPSON File Manager window to modify, print, or attach your image files.

Do one of the following to start EPSON File Manager:

    Windows: Select Start > Programs or All Programs > EPSON Creativity Suite > EPSON File Manager.

    Mac OS X: Open the Applications > EPSON > Creativity Suite > File Manager folders and double-click the EPSON File Manager for X icon.

    You see a window asking if you want to see program instructions.

If you want to view the program instructions, click Next and follow the on-screen instructions.


Note:

To turn off display of the program instruction window, click the Do Not Show Next Time checkbox.

    You see the EPSON File Manager window:

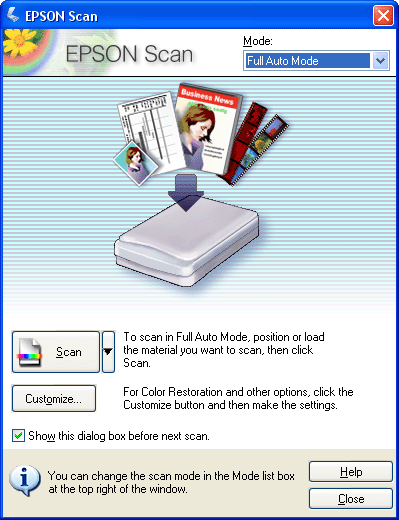
Click the scanner icon in Load Photos in the upper left corner. You see an EPSON Scan window.

If the Mode box at the top right of the EPSON Scan window is set to Full Auto Mode, click the Scan button. (For more information on selecting optional settings, see Using Full Auto Mode.)


Note:

If you want to change the scanning mode, see Changing the Scan Mode.

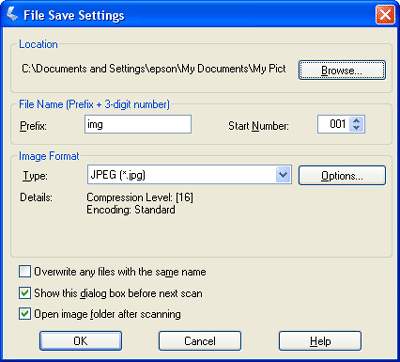
The File Save Settings window appears. For instructions on selecting options, see Selecting File Save Settings.

When you are finished selecting File Save Settings, click OK. Your image is scanned, saved in the specified format and location, and displayed as a thumbnail in the EPSON File Manager window. See Finishing the Scan for details.