 |
When the printer’s  ink light is flashing, one or more of the ink cartridges is low on ink. When the light remains on, this indicates that an ink cartridge is expended and you need to replace the expended ink cartridge. The printer’s LCD also displays INK LOW or INK CARTRIDGE REPLACE INK CARTRIDGE. ink light is flashing, one or more of the ink cartridges is low on ink. When the light remains on, this indicates that an ink cartridge is expended and you need to replace the expended ink cartridge. The printer’s LCD also displays INK LOW or INK CARTRIDGE REPLACE INK CARTRIDGE.
 |
Note: |
 |
|
Even if only one ink cartridge is expended, the printer cannot continue to print until you replace it.
|
|
To obtain the part numbers for replacement ink cartridges, see Ink Cartridges.
Follow the steps below to replace an ink cartridge.
 |
Caution: |
Use the following UltraChromeK3 Epson ink cartridges:
|
Ink cartridge (Photo Black)
|
T5801
|
|
Ink cartridge (Cyan)
|
T5802
|
|
Ink cartridge (Magenta)
|
T5803
|
|
Ink cartridge (Yellow)
|
T5804
|
|
Ink cartridge (Light Cyan)
|
T5805
|
|
Ink Cartridge (Light Magenta)
|
T5806
|
|
Ink cartridge (Light Black)
|
T5807
|
|
Ink cartridge (Matte Black)
|
T5808
|
|
Ink cartridge (Light Light Black)
|
T5809
|
 |
Make sure the printer is turned on. Find out which cartridge needs to be replaced, as indicated by the ink icon on the printer’s control panel.
|
 |
Press the  ink cover open button for 3 seconds to unlock the ink cover. ink cover open button for 3 seconds to unlock the ink cover.
|

 |
Open the ink cover.
|
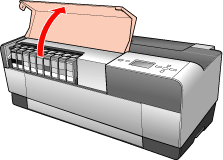
 |
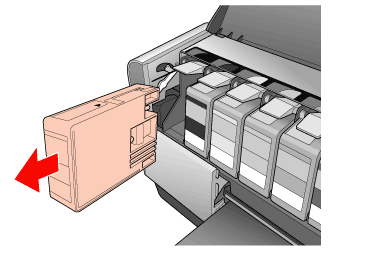
Press the ink eject button above the cartridge you need to replace. The ink cartridge slides out slightly.
|

 |
Carefully pull the expended cartridge straight out of the slot, and dispose of it properly.
|
 |  |
Warning: |
 |  |
|
If ink gets on your hands, wash them thoroughly with soap and water. If ink gets into your eyes, flush them immediately with water.
|
|
 |  |
Caution: |
 |  |
|
Do not shake cartridges (that have previously been installed) with too much force.
|
|
 |
Make sure the replacement ink cartridge is the correct color, and then remove it from the package.
|
 |  |
Caution: |
 |  |
|
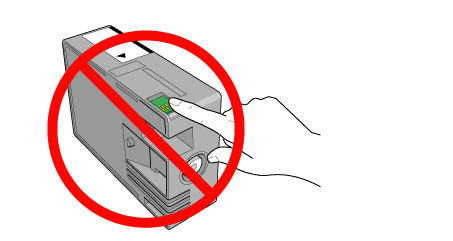
Do not touch the green chip on the top of the cartridge; this may prevent normal operation and printing.
|
|
 |
Shake the ink cartridge well before installing it.
|

 |
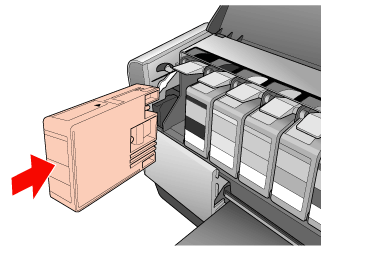
Hold the ink cartridge with the arrow mark facing up and pointing to the back of the printer, and then insert it into the slot until it clicks.
|
 |  |
Note: |
 |
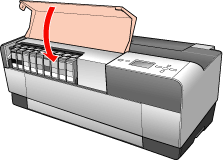
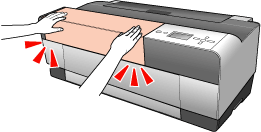
Close the ink cover. The printer returns to the previous state.
|
|  |


