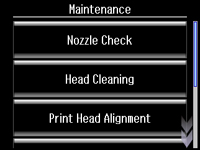
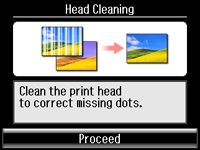
Cleaning the Print Head Using the Product Touch Panel

You can clean the print head using the touch panel on your product.
  1. Make sure plain paper is loaded in Cassette 1.
  2. Press the  home button, if necessary.
  3. Select Setup.
  4. Select Maintenance. You see this screen:


  5. Select Head Cleaning. You see this screen:


  6. Select Proceed.
  7. Select the cleaning cycle you want to run.
    Note: Use the nozzle check pattern to determine which colors need cleaning. You can save ink by cleaning only selected colors.
    When the cleaning cycle is finished, you see a message on the screen.
    Caution:
    Never turn off the product during a cleaning cycle or you may damage it.
  8. Select Print Nozzle Check Pattern.
  9. Press one of the buttons to confirm that the print head is clean.
If you don’t see any improvement after cleaning the print head up to 4 times, wait at least 6 hours. Then try cleaning the print head again. If quality still does not improve, one of the ink cartridges may be old or damaged and needs to be replaced.
Related tasks
Cleaning the Print Head Using a Computer Utility
Checking the Nozzles Using the Product Touch Panel
Related information
Replacing Ink Cartridges and Maintenance Boxes