 |
|
|||
 |
||||
Scanning Using Document Capture Pro (for Windows)
This section explains basic scanning procedures using Document Capture Pro.
See help for details on Document Capture Pro.
 |
Place your original(s).
|

 |
Start Document Capture Pro.
|
 |
Click Scan.
|
 |
Select settings in the Main Settings window, and then click Scan.
|
Click Detailed Settings to make more detailed image adjustments using the “Epson Scan” scanner driver.
The document is scanned and displayed as an image in Document Capture Pro.
 |
Check the scanned images (pages), and then edit as needed.
|
 |
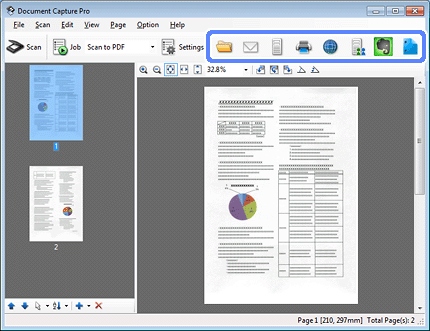
When you have finished checking the image, click the destination icon.
|
 |
Make settings on the Save As window or the Print Settings window, and then click OK.
|
 Note:
Note:|
Selecting Apply job separation on the Save As window activates the function to sort the documents into separate files by detecting blank pages or barcodes in your scanned images.
|
The scanned image is saved to the folder you specified.