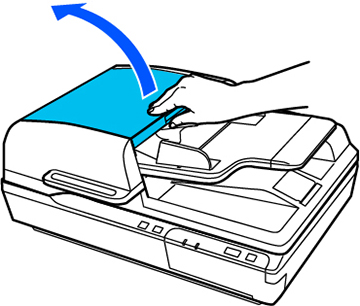
- Open the ADF cover.
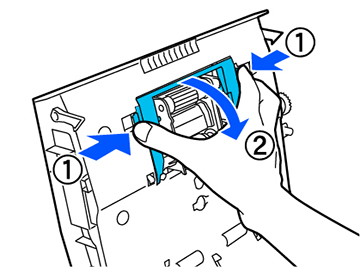
- Press in the hooks on the sides of the pickup roller cover and flip down the cover.
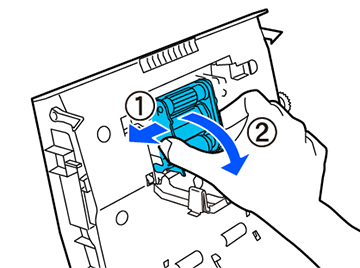
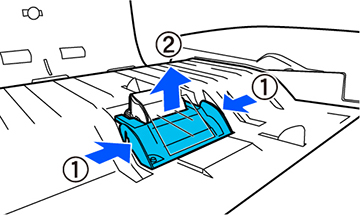
- Slide the pickup roller to the left, flip it down, and pull it out to remove it.
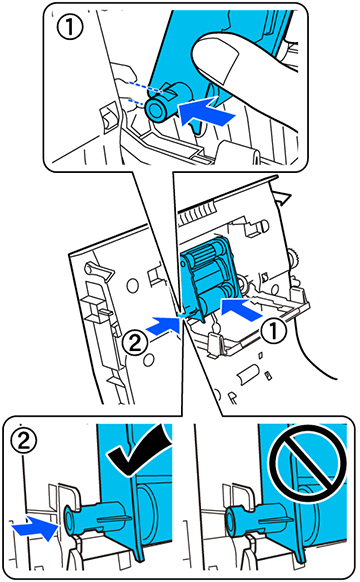
- To
install the new pickup roller, align the tab on the roller with the
notch in the scanner as shown. Then slide it to the right.
Note: Do not touch the surface of the pickup rollers.
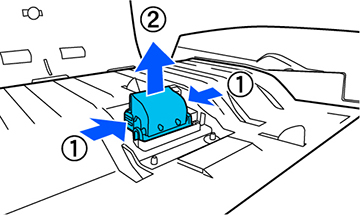
- Press in the hooks on the sides of the separation pad cover and remove the cover.
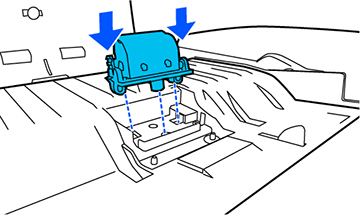
- Press in the hooks on the sides of the separation pad and pull it up to remove it.
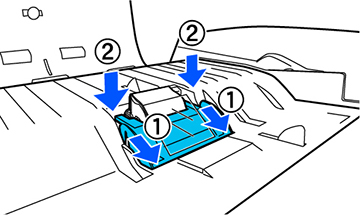
- Insert the replacement separation pad
as shown below and press it down until it clicks into place.
Note: Do not touch the surface of the separation pad.
- Slide the separation pad cover into place and press it down as shown.