- Place your document or photo face-down on the glass, in the top, left corner as described in Placing Your Original Document. You can also place additional small documents or photos and scan them at the same time.
- Start your application, then go to step 3.
Or do one of the following:
- On Macintosh, double-click EPSON Scan in the Applications folder and go to step 4.
- In Windows, select Start > All Programs or Programs > EPSON Scan> EPSON Scan and go to step 4.
- Open the File menu and choose Import or Acquire and select EPSON Stylus Photo RX500.

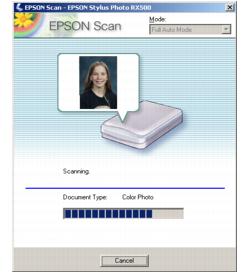
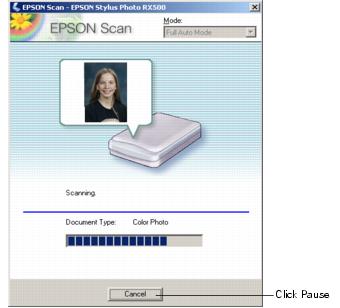
EPSON Scan starts previewing your image in Full Auto Mode.
- To switch modes, click the Pause button at the bottom of the screen.
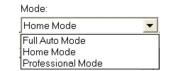
- Select Home Mode or Professional Mode from the Mode pull-down menu at the top of the screen.
EPSON Scan previews your image and displays the screen for the mode you chose.

- If you don't see an automatic preview of your scan to the right of the EPSON Scan window, click the Preview button. After a moment, your image appears in the Preview window.
Note: If you placed more than one document or photo on the document table, you see multiple images in the preview window.
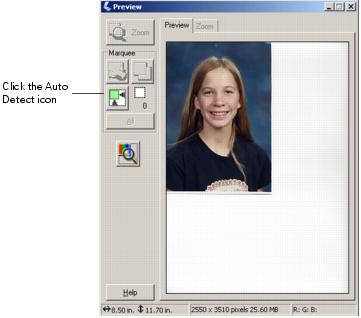
- Click the
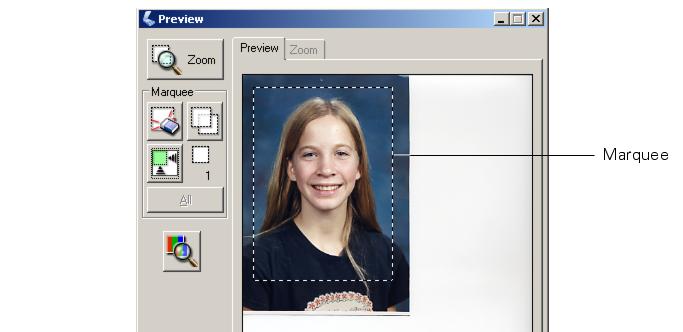
 Auto Detect icon to crop the scan to the edges of your image, creating a movable outline called a "marquee." If you're scanning more than one image, the marquee surrounds all of them. (For information on adjusting the marquee, see Adjusting the Scan Area (Marquee).)
Note: If your Home Mode preview image has a blue box around it, you're previewing in Thumbnail mode and can't create a marquee. Click the arrow beside the Preview button and select Normal from the menu that appears. Click the Preview button again to preview in normal mode.
- Choose Document Type, Image Type, and Destination settings that match the type of image you're scanning and the way you want to print or view it. (Click Help on the EPSON Scan screen for detailed information about all the available settings.)
Note: The Document Type you select determines the other options that appear in the EPSON Scan window.
- Size and adjust your image settings as necessary.
- Make any other desired settings.For example, to improve the color of faded photos or negatives, click the Color Restoration box. If you're scanning film, click the Dust Removal box to reduce the appearance of dust on film.
Note: The Dust Removal option is only available if you're scanning film. If you're using Professional mode, you may have to scroll to the bottom of the screen to see some options.
- Click the Scan button.
If you scanned from an application like Photoshop, your scanned image opens in your application window.
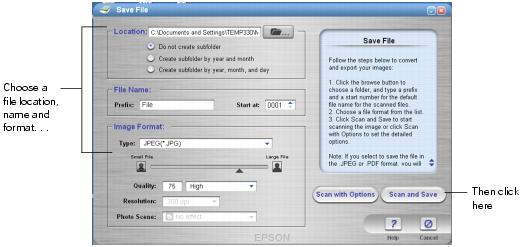
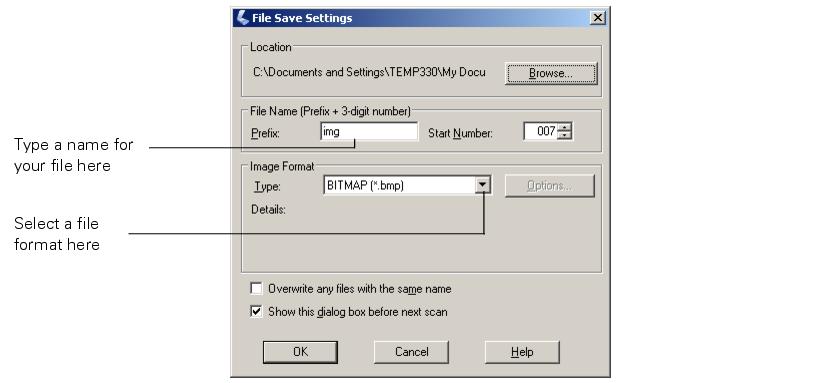
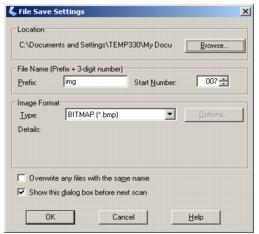
If you started EPSON Scan directly from your computer, you see a File Save Settings window. Type a name for your file in the Prefix box, select a file format in the Type box, and click OK.
- Click Close to exit EPSON Scan.