- From the File menu, choose Page Setup and select the following settings:
- Click OK to close the Page Setup window.
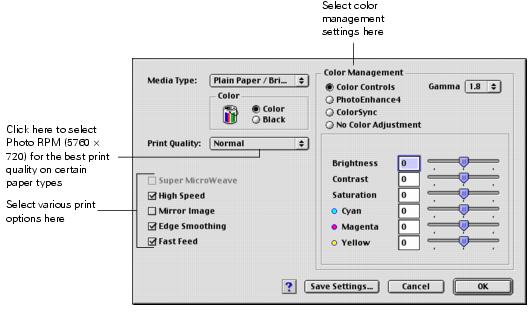
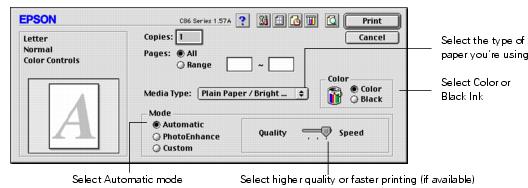
- From the File menu, select Print and change the following print settings as necessary:
- You can also do the following:
- Click Print.
- If you turned on background printing, you can select Epson Monitor IV from the Application menu in the upper right corner of your screen. You see the Epson Monitor window:

Note: For more information about printer settings, click the ? button.
The Quality setting on this screen gives you the best combination of quality and print speed for most prints. For the highest print quality (Photo RPM) on selected papers, click Custom, then click the Advanced button and see Customizing Mac OS 9 Print Settings.
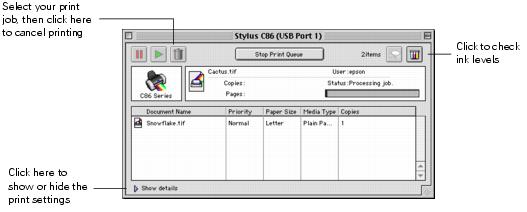
Note: If you're not using background printing and you need to cancel printing, hold down the ![]() key and press the . (period) key. Or press the
key and press the . (period) key. Or press the ![]() paper button on the printer.
paper button on the printer.