If your
printouts are faint or smudged, or segments are missing even after
cleaning the print head, you need to replace the wiper and wiper
cleaner. You may also need to replace the wiper and wiper cleaner
if ink adheres to the absorber on the back of the wiper cleaner or
they are damaged.
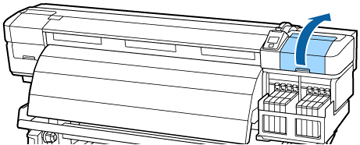
- After the print heads move to the left end of the printer, open the right maintenance cover.
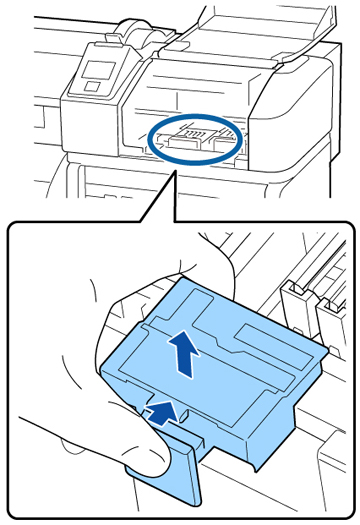
- Grasp the wiper cleaner and lift it out of your product as shown.
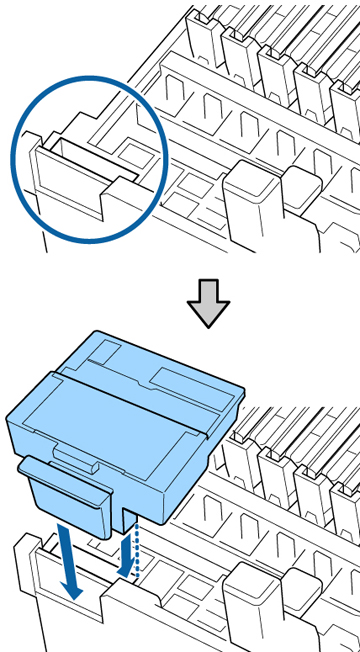
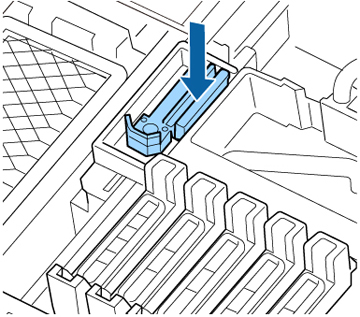
- Place the new wiper cleaner on the attachment point shown here and press it down until it clicks into place.
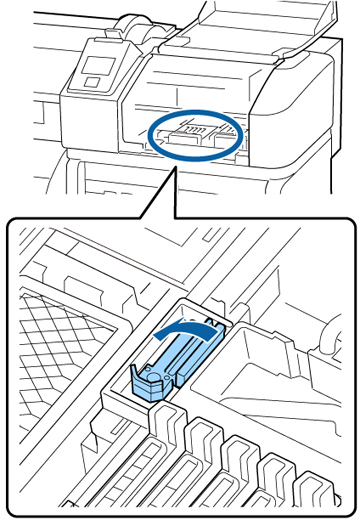
- Hold the wiper by the attachment point, tilt it to the left as shown, and lift it out of the product.
- Remove the cap on the new wiper, place it on the attachment point, and press it down until it clicks into place.