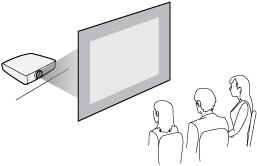
You can set up or install your projector in the following ways:


Caution:

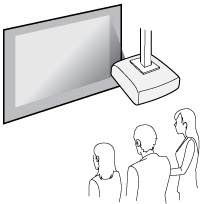
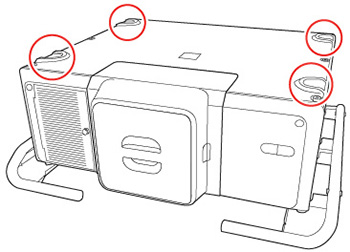
You can place the projector on its side to project a
portrait image by attaching the optional mounting handle to the top
of the projector. You can also remove the feet from the projector
and attach them to the handles as shown here.

Caution:
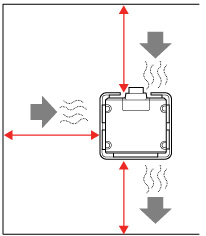
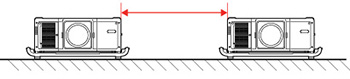
If you are installing multiple projectors next to
each other, be sure to leave at least 20 inches (50 cm) of space
between the projectors.
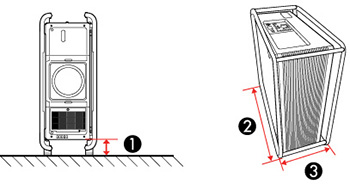
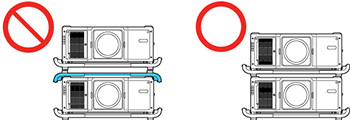
If you are stacking multiple projectors, follow
these guidelines:
- Do not stack more than three projectors.
- Align the top projector so that its feet is in the indentations on the bottom projector shown here.
- Remove the projector's mounting handle when placing another projector on top of it.
If you project from the ceiling or from the rear, select the correct Projection setting and, if necessary, turn on the Inv Direction Button setting and adjust the OSD Rotation setting.