- Turn off the projector and
unplug the power cord.
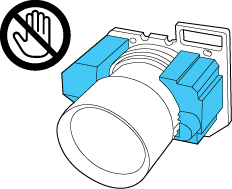
Caution:Unplug the power cord from the projector before attaching the lens. Avoid touching the lens with your bare hands to prevent fingerprints on or damage to the lens surface.
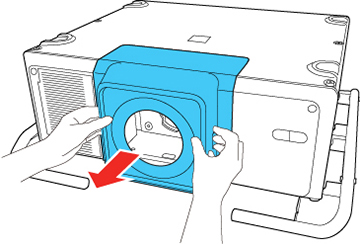
- Press the tabs on both sides of the lens cover and pull the lens cover off the projector.
- Slide the lock lever to the left.
-
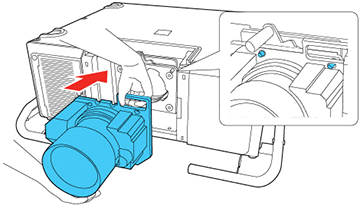
Insert the lens unit straight into the
projector's lens socket. Make sure the two protruding points in the
lens socket fit into the holes on the lens unit.
Caution:
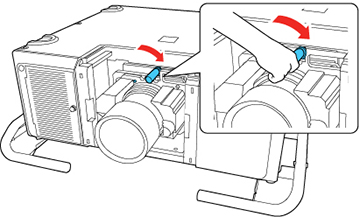
- Hold the lens unit firmly and slide the lock lever to the right until it clicks, indicating that it is locked.
- Replace the lens cover.
- Do one of the
following:
- If you attach a lens that is different from the previous lens, you see a message to calibrate the lens the next time you turn on the projector. Select Yes to calibrate the lens.
- If you remove and attach the same lens, press and hold the Default button or select Lens Calibration in the Extended menu to calibrate the lens.
Caution:If you see a message that lens calibration failed, turn off the projector, unplug the power cord, and contact Epson.