- Make sure there are no errors on the LCD screen.
- Load a few sheets of plain paper in the cassette (or in Cassette 1 if your product has two cassettes).
- Press the
 home button, if
necessary.
home button, if
necessary. - Select Settings > Maintenance > Print Head Cleaning.
- Select one of the
following options:
- All Colors: clean all print head nozzles
- All except Black: clean all print head nozzles except black
- Black Only: clean only the black print head nozzle
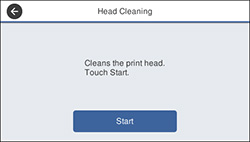
- Select Start to clean
the print head. When the cleaning cycle is finished, you see
a message on the screen.
Caution:Never turn off the product or open the front cover during a cleaning cycle or you may not be able to print.
- Select Yes.
- Select Start to print a nozzle check pattern and confirm that the print head is clean.