You can
clean the print head using the control panel on your product.
Note: You
cannot clean the print head if ink is expended, and may not be able
to clean it when ink is low. You must replace the ink pack
first.
- Make sure there are no errors on the LCD screen.
- Load a few sheets of plain paper in the product.
- Press the
 home button, if
necessary.
home button, if
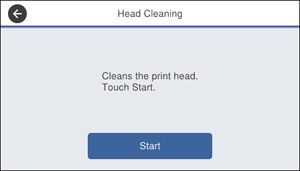
necessary. - Select Settings > Maintenance > Print Head Cleaning. You see a screen like this:
- Select Start to clean
the print head. When the cleaning cycle is finished, you see
a message on the screen.
Caution:Never turn off the product or open the front cover during a cleaning cycle or you may not be able to print.
- Select Yes.
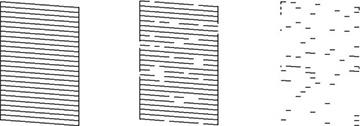
- Select Start to print a nozzle check pattern.
- Check the printed pattern to see if there are gaps in the lines.
- Do one of the
following:
- If there are no gaps, select O.
- If there are gaps or the pattern is faint, select X and continue.
- If there are many lines missing, you should run a Power Cleaning.
- Follow the instructions on
the screen to clean the print head, check the nozzles, and repeat
the process as necessary.
Caution:Never turn off the product or open the front cover during a cleaning cycle or you may not be able to print.
If you don’t see any improvement
after cleaning the print head up to 4 times, wait at least 6 hours
without printing. Then try cleaning the print head again. If
quality still does not improve, one of the ink packs may be old or
damaged and needs to be replaced. You can also try running a Power
Cleaning.