- Turn off the projector and
unplug the power cord.
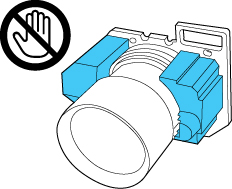
Caution:Unplug the power cord from the projector before attaching the lens. Avoid touching the lens with your bare hands to prevent fingerprints on or damage to the lens surface.
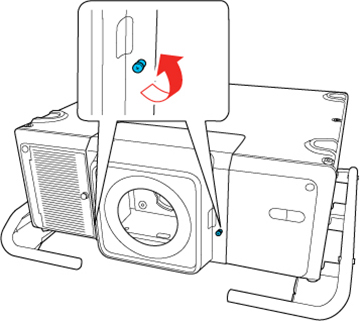
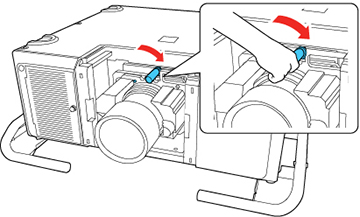
- Loosen the lens cover screws by hand.
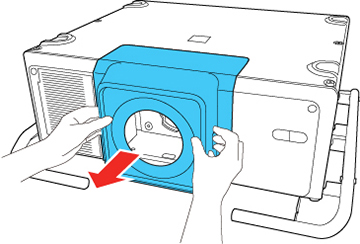
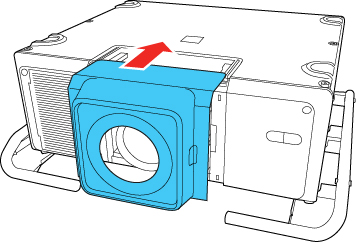
- Press the tabs on both sides of the lens cover and pull the lens cover off the projector.
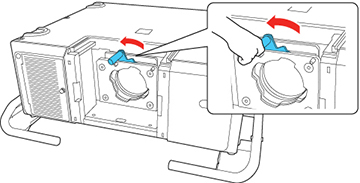
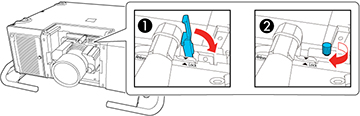
- Slide the lock lever to the left.
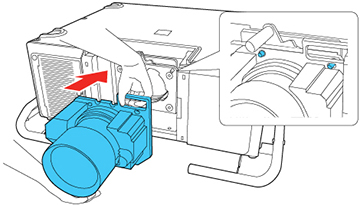
- Insert the lens unit
straight into the projector's lens socket. Make sure the two
protruding points in the lens socket fit into the holes on the lens
unit.
Caution:
- Hold the lens unit firmly and slide the lock lever to the right until it clicks, indicating that it is locked.
- Replace the lens cover.
- Do one of the
following:
- If you attach a lens that is different from the previous lens, you see a message to calibrate the lens the next time you turn on the projector. Select Yes to calibrate the lens.
- If you remove and attach the same lens, press and hold the Default button or select Lens Calibration in the Extended menu to calibrate the lens.
Caution:If you see a message that lens calibration failed, remove the lens and reinstall it. If the message still appears, turn off the projector, unplug the power cord, and contact Epson.If the projector cannot determine the model number of your lens, you cannot perform lens calibration.