You
can use the projector remote control to control certain features of
devices connected to the projector's HDMI port.
Note: The
connected device and HDMI cable must meet the HDMI CEC standard.
The device must also be configured; see the documentation that came
with the device. All devices or functions may not operate
properly.
-
Press the
 Settings button on the
projector remote control.
Settings button on the
projector remote control. - Press the arrow buttons to select the Settings menu and press Enter. You see this screen:
- Select the Operation setting and press Enter.
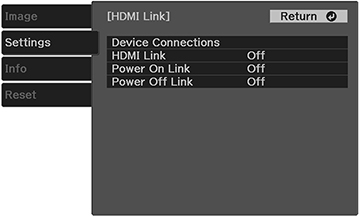
- Select the HDMI Link setting and press Enter. You see this screen:
-
Select the HDMI
Link setting and press Enter. Then select On and press the
 Esc button.
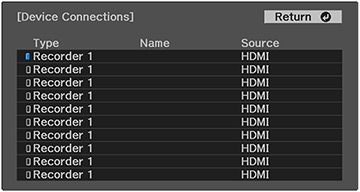
 -
Select the Device
Connections setting and press Enter. You see this screen:
Note: Linked devices are indicated by a blue mark. You cannot select grayed-out devices.
- Select the device you want to control and project images from and press Enter.
-
Select the following HDMI Link options as
necessary and press Enter:
- Power On Link: select what happens when you turn on the projector or linked device. Select PJ -> Device or Bidirectional to turn the linked device on when the projector is turned on, or select Device -> PJ or Bidirectional to turn the projector on when the linked device is turned on.
- Power Off Link: select whether linked devices are turned off when the projector is turned off.
- Press the Settings button to exit
the menu or the Esc button to return to the
previous screen.