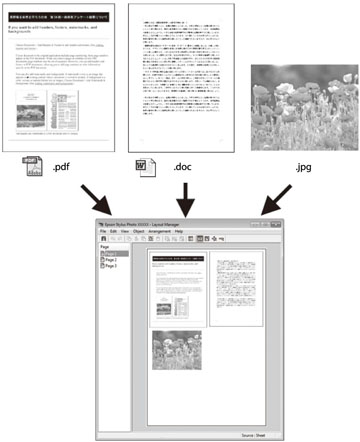
Layout
Manager lets you include multiple pieces of print data created in
different applications onto one sheet of paper for printing.
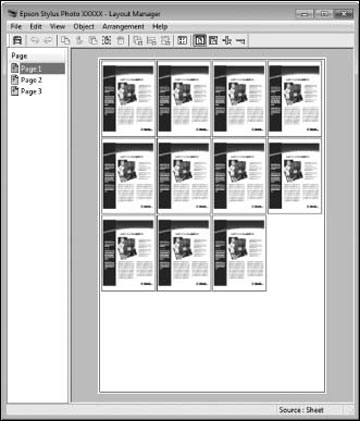
You can also place the same print data multiple
times as shown here.
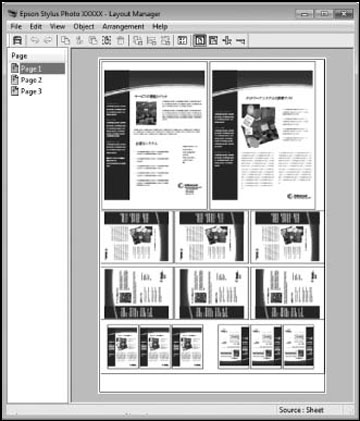
You can place print data in different sizes and
orientations to maximize media usage, as shown here.
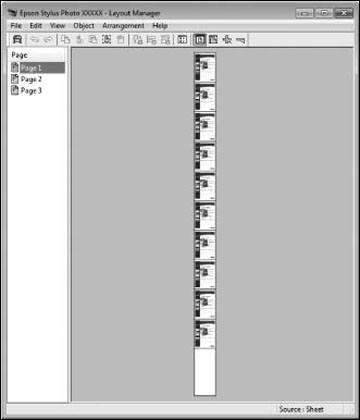
You can place print data on roll paper as shown
here.
Open the
file you want to print in your application.
Select
the print command in your application.
Select
the Layout Manager checkbox on the
Printer Settings tab.
Choose an option for the Document Size setting that matches the size of
the document in your application.
Click
OK and then click Print, if necessary. The Layout Manager
screen opens and displays one page in the layout.
Leave
the Layout Manager screen open and repeat steps 1 to 4 to arrange
additional print data. The pages are added to the Layout Manager
screen.
Do the
following to arrange objects on the Layout Manager screen:
Drag pages
to move and resize them.
Use the tool
buttons and the Object menu to align and rotate pages.
Resize and
replace whole pages in the Preference or Arrangement Settings
screens.
Note: See the
Layout Manager screen help for details.
Click
File > Properties and select your print settings,
including the size of the paper you are printing on.
Open the
File menu on the Layout Manager
screen and click Print.
Note: To save the
current job to a file, open the File
menu on the Layout Manager screen, save the file, and close the
Layout Manager screen. To open the saved file later for editing or
reprinting, right-click the printer icon in the Windows taskbar,
click Layout Manager, and select the
file.