After you
have removed or attached spacers as necessary, you can install a
platen on the printer.
Note: If you are
printing on film, do not use a sleeve platen or medium-grooved
platen, and make sure that you use a platen that is larger than the
film. If you use a platen that is smaller than the film, the
overhanging parts could be pushed up and the job will not be
printed correctly. Also, the edges of the film may strike against
the print head and be damaged.
- Make
sure the printer is off and the platen is ejected forward.
Turn on the printer and then press the
 moveable base button to move the
platen forward, and then turn off the printer, if necessary.
moveable base button to move the
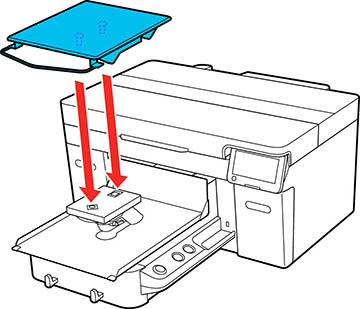
platen forward, and then turn off the printer, if necessary. - Align the platen to fit into the holes
in the moveable base and place the platen on the printer.
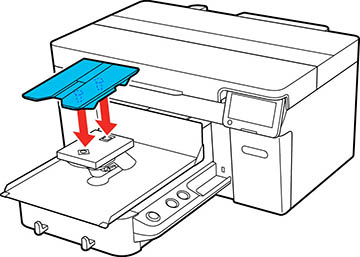
- Install a large, medium, or small hanger platen with the hanger positioned toward the front. Then go to step 5.
- Install a large garment, medium garment, small garment, or extra small garment platen in any orientation. Then go to step 5.
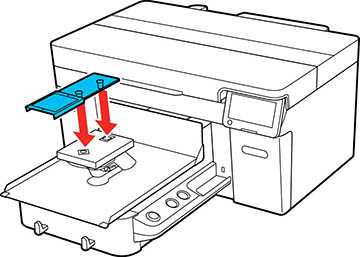
- If you are installing a medium grooved platen, make sure the cut out section faces the front as shown. Then go to step 5.
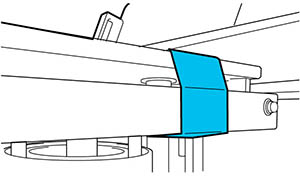
- If you are installing a sleeve platen, install it as shown. Then go to step 4.
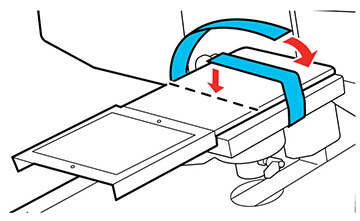
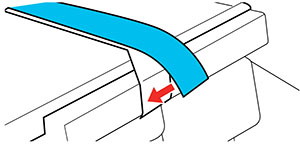
- Pass the fixing band under the parallel adjustment plate and align it with the groove on top of the platen and secure it tightly. Make sure the end of the fixing band is on the side of the platen.