- Do one of the following to disable the Auto Cut setting:
- Select the
 cut icon and do one of the
following:
cut icon and do one of the
following:
- If you do not need to reposition the cutting guideline, select
the cut icon.
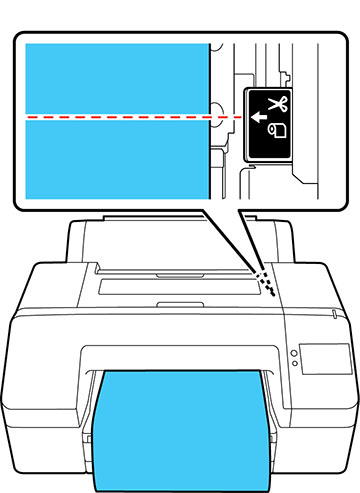
- If you need to reposition the cutting guideline, look through
the printer cover while keeping it closed and use the
 and
and  feed icons to align the desired
cutting guideline position with the arrow mark on the printer. Once
aligned, select the cut icon.
feed icons to align the desired
cutting guideline position with the arrow mark on the printer. Once
aligned, select the cut icon.
Note: You cannot print a cutting guideline inside the bottom margin. - If you do not need to reposition the cutting guideline, select
the
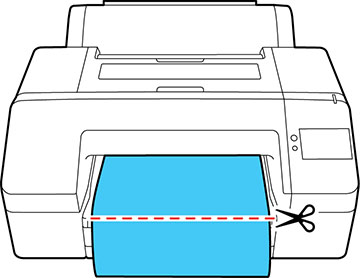
- Use scissors to cut along the cutting
guideline and then select Done.
The roll rewinds and the paper's leading edge returns to the print wait position.