|

Reference Guide
|
|
Scanning / Using EPSON Smart Panel
Applications in the EPSON Smart Panel Window
 Scan and Save
 Copy/Reprint Photos
 View and Create
 Scan to Application
 Scan to E-mail
 Epson Photo Site
 Copy to Fax
 Edit Text
The EPSON Smart Panel window contains various applications. See the following section about the applications available.
By clicking an applications icon, you can use the CX6600 to scan and send data directly to the application. For details, refer to the EPSON Smart Panel online help.
In addition, you can assign any of the available applications to the control panel buttons of the CX6600. See Assigning an Application in the EPSON Smart Panel Window for details. This makes scanning and sending data to the assigned application even simpler. All you need to do is press the control panel buttons of the CX6600.
Scan and Save
Use this application to scan, convert, then save an image to a specific folder. You can also convert an image using the PRINT Image Matching standard and add various color effects to the scanned image. When you click Scan and Save icon, the following dialog box appears. Click Scan and Save to start scanning or Scan with Options to change scanning settings.

 |
Note:
|

[Top]
Copy/Reprint Photos
Use this application to turn your scanner into a digital copy machine. Using this application, you can scan and print images as photos. You can copy in various sizes, or place several photos on the same page. Before you print an image, you can see the effects of image adjustments using the Preview window. When you launch this application, the following screen appears.
 |
Note:
|
 | |
For Windows or Mac OS X, you can select paper easily when Epson EasyPrintModule is installed.
|
|


[Top]
View and Create
Use this application to scan photos using ArcSoft PhotoImpression. When you launch this application, the following screen appears and ArcSoft PhotoImpression starts automatically.

 |
Note:
|
 | |
If ArcSoft PhotoImpression is not installed, the View and Create icon appears dimmed and is not available.
|
|

[Top]
Scan to Application
Use this application to scan and send images to a desired application for further editing. When you launch this application, the following screen appears and the image is scanned from EPSON Scan.


[Top]
Scan to E-mail
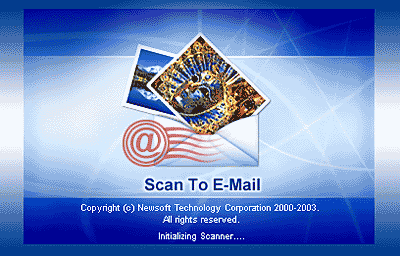
Use this application to scan an image and send an e-mail message with your scanned image attached. When you launch this application, the following screen appears and the image is scanned from EPSON Scan.


[Top]
Epson Photo Site
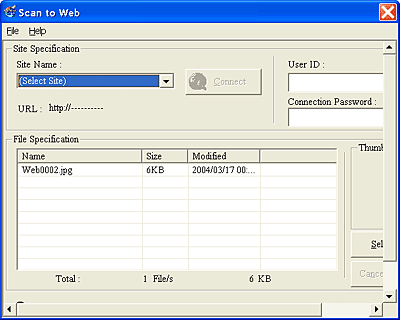
Use this application to scan an image using the PRINT Image Matching technology, then upload it to the Epson photo-sharing site. When you launch this application, the image is scanned from EPSON Scan and displayed in the Verify Assistant dialog box. Click Next and the following dialog box appears. Click Upload to upload the image.

 |
Note:
|

[Top]
Copy to Fax
Use this application to send the image scanned from a document on the document table and send it by fax using a fax application. You can send documents just like using a fax machine. When you click Copy to Fax, the Copy Utility screen appears. Images scanned using the Copy Utility are sent to the fax application.
 |
Note:
|
 | |
This application is available when a fax application is installed to your computer.
|
|

[Top]
Edit Text
Use this application to scan and convert images into text. The converted text can be saved or sent to a word processing application. When you launch this application, the following screen appears.

 |
Note:
|
 | |
This application is available when Fine Reader is installed.
|
|

[Top]
| Version 1.00E, Copyright © 2001, SEIKO EPSON CORPORATION |
![]()
Scan and Save
Copy/Reprint Photos
View and Create
Scan to Application
Scan to E-mail
Epson Photo Site
Copy to Fax
Edit Text


