 |
|
|||
 |
||||
Scanning Multi-Page Originals as Separate Files (Windows only)
You can use Document Capture Pro to scan multi-page originals as separate scanned files. You indicate where you want the new scanned files to start by inserting a blank page or barcode between the pages of your original.
 Note:
Note:|
The settings may vary, depending on the software version you are using. See the Help information in Document Capture Pro for details.
|
 |
Load your documents (up to 75 pages) into the input tray with the printed side facing down and the top edge facing into the feeder. See Loading Documents for instructions.
|
 |
Do one of the following to start Document Capture Pro:
|
Windows 8.x: Navigate to the Apps screen and select Document Capture Pro.
Windows (other versions): Click the  start button icon or Start > All Programs or Programs > Epson Software > Document Capture Pro.
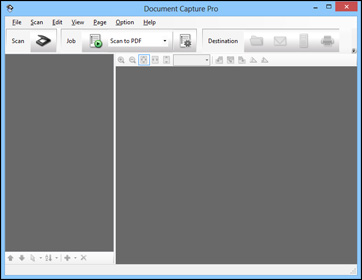
You see a window like this:
 |
Click the
|

 |
Select any displayed scan settings you want to use.
|
Note:|
See the Help information in Document Capture Pro for details.
|
 |
If you want to select detailed scan settings, click Detailed Settings. Select any scan settings you want to use and click OK.
|
Note:|
When you select this option, Epson Scan starts. See Scanning Documents Using Epson Scan for details on selecting settings in the Epson Scan window.
|
 |
Click Scan. You see a preview of your scan in the Document Capture Pro window.
|
 |
Check the scanned images and edit them as necessary.
|
 |
Open the File menu and select Batch Save.
|
 |
Click File Save Settings.
|
 |
Select Apply job separation and click Separation Settings.
|
 |
Select the method you used to separate the originals, select a folder name specification and click OK.
|
 |
Select any additional settings from the File Name Settings dialog and click OK.
|
 |
Select any additional settings from the Batch Save dialog and click OK. Your originals are saved into separate files and folders as specified by your settings.
|