- Locate the photo you want to print on your computer.
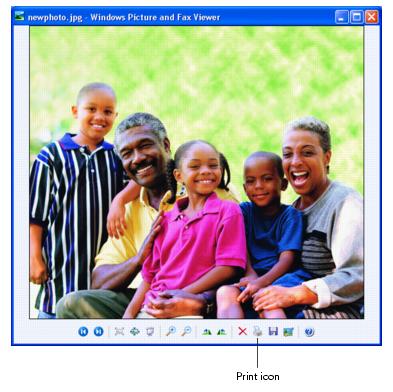
- Right-click the photo, highlight Open With, and select Windows Picture and Fax Viewer.
- Click the
 Print icon at the bottom of the screen.
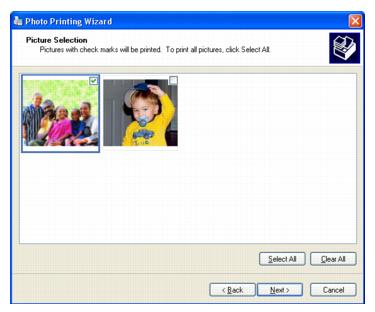
 - Click Next. You see a Picture Selection window:
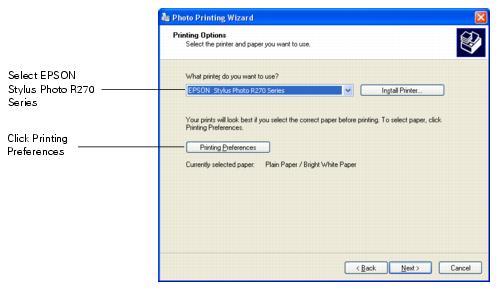
- Select the photo(s) you want to print and click Next. You see the Printing Options window:
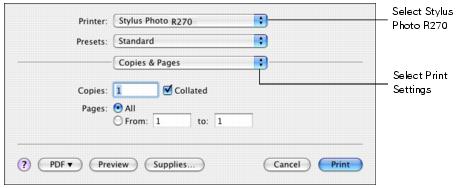
- Select EPSON Stylus Photo R270 Series and click Printing Preferences. You see a window like this one:
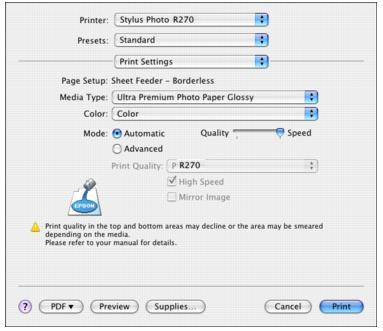
- Select Photo as the Quality Option setting.
- Select one of the following for the paper Type option, to match the paper you're using:
- Click the Borderless check box. Read the message and click OK.
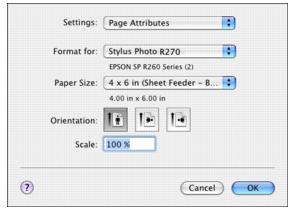
- Select your paper Size setting to match the paper you're using. See the list of supported borderless sizes in Choosing Paper for Borderless Photos.
- Select Portrait or Landscape as the orientation setting.
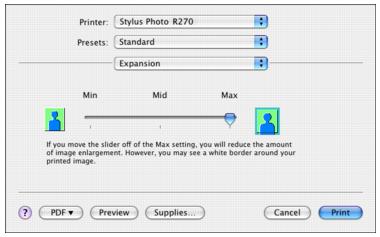
- Click the Page Layout tab. You see a window like this one:
- If necessary, adjust the Expansion slider in the Borderless box to choose Max, Min, or the in-between setting.
- Click OK.
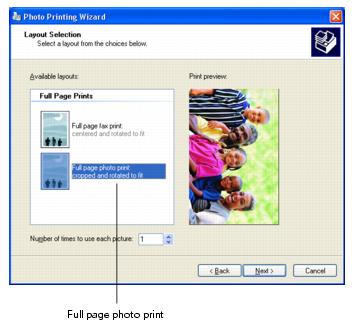
- At the Photo Printing Wizard screen, click Next. You see a Layout Selection window:
- Select Full page photo print and click Next to begin printing.
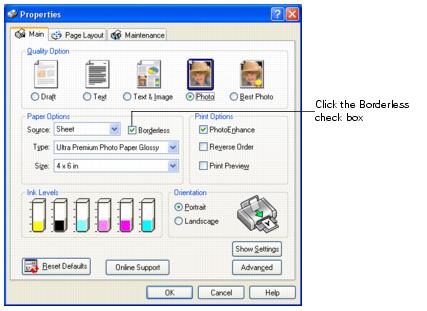
Note: If you're not sure which Type to select, see Choosing Paper for Borderless Photos.
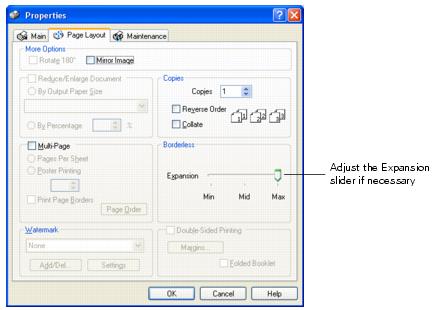
Min retains the entire image in your print, but there may be a small white edge on the borders of the print. Max expands the image to ensure that there are no unprinted edges, but the edges of the image may not appear in the print.