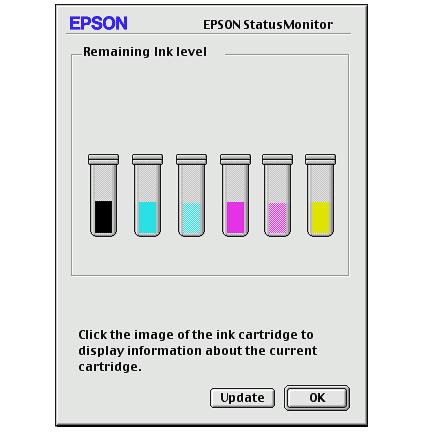
- Make sure the EPSON Stylus Photo RX500 is turned on and not printing. The LCD screen tells you which ink cartridge is low or empty.
- Do one of the following:
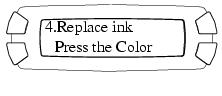
- If one of the cartridges is empty, press the x Color button.
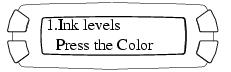
- If one of the cartridges is low on ink, press the Setup button to enter setup mode. Press the top left button on the LCD screen until you see the message to the right, then press the x Color button.
The ink cartridges move to the replacement position.
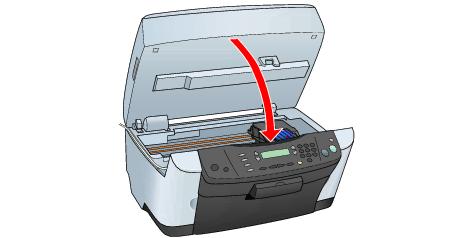
- When you see the message Open the scanner on the LCD screen, make sure the scanner lid is closed. Then open the scanner unit, as shown:
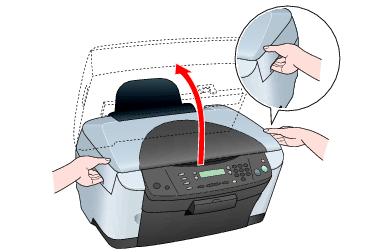
Caution: Never open the scanner unit while the scanner lid is open.
Never move the print head by hand; you could damage the Stylus Photo RX500.
Never attempt to open the cartridge cover while the print head is moving. Wait until the cartridges have moved to the replacement position.
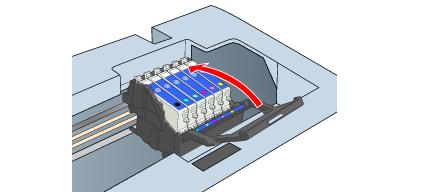
- Open the cartridge cover.
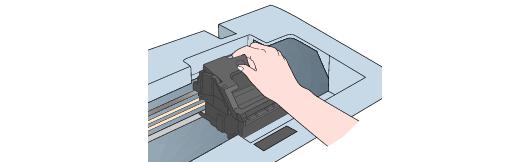
- Pinch the tabs on the front and back of the old cartridge, lift it out of the printer, and dispose of it carefully.
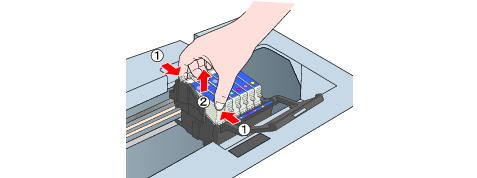
Note: The illustration above shows the black cartridge being removed. Only remove the cartridge(s) you need to replace.
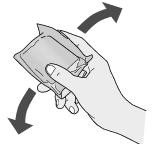
- Before you remove the new cartridge from its package, shake it four or five times.
- Unwrap the new ink cartridge and lower it into its holder, then press down on the top of the cartridge until it clicks in place.
Caution: Don't touch the green circuit board on the back of the cartridge; you may inhibit normal operation and printing.
If you need to replace other ink cartridges, repeat steps 5 through 7 before continuing with step 8.
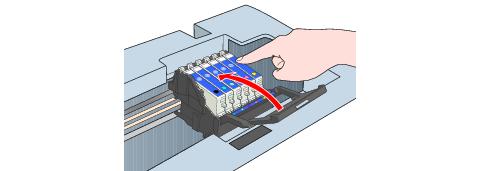
- Close the cartridge cover.
Caution: If you find it difficult to close the cover, make sure that all of the cartridges are firmly seated. Press down on the newly installed cartridge until you hear it click into place. Do not attempt to force the cover closed.
- Close the scanner unit.
You see the message Charging. . . on the LCD screen, and the EPSON Stylus Photo RX500 makes noise. Charging takes about 30 seconds. When it's finished, Charging. . . disappears from the LCD screen.
Caution: Never turn off the EPSON Stylus Photo RX500 while Charging. . . appears on the LCD screen, unless the Stylus Photo RX500 hasn't moved or made noise for more than 5 minutes. This may cause incomplete charging of the ink.
Note: Ink charging uses ink, so it's best to install new ink cartridges or used cartridges with a relatively high level of ink. Used cartridges with a low level of ink may become empty immediately after being installed.
 printer icon in the lower right corner of your screen. If a cartridge is low on ink, you'll see a message in the window that appears on your screen.