|

Reference Guide
|
|
Replacing Ink Cartridges
Checking the Ink Supply
 Using the Control Panel
For Windows
For Macintosh
You can check the amount of ink remaining in the ink cartridges from the Stylus Photo RX600 itself or your computer.
 |
Note:
|
 | |
After the ink cartridge replacement, if the ink was low it may become empty. When a message appears to indicate the ink is low, prepare a new ink cartridge.
|
|
Using the Control Panel
 |
Press the Setup button.
|
 |
Select Ink Levels using the  / / buttons, then press the OK button. The amount of ink remaining is displayed. buttons, then press the OK button. The amount of ink remaining is displayed.
|
 |
If you want to replace the ink cartridge, go on to the next section. To return to the previous display without replacing the ink cartridge, press the OK button.
|
|  |
Caution:
|
| | |
Leave the used ink cartridge installed until just before replacement; otherwise, ink remaining in the print head nozzles may dry out.
|
|

[Top]
For Windows
You can check the amount of ink remaining in the ink cartridges using EPSON Status Monitor 3 or the progress meter. Refer to the appropriate section below for details.
EPSON Status Monitor 3
Access EPSON Status Monitor 3 in one of the following ways.
-
Double-click the printer-shaped shortcut icon on your Windows taskbar. To add a shortcut icon to the taskbar, see online help for details.
-
Open the printer software, click the Maintenance tab, then click the EPSON Status Monitor 3 button.
A graphic displays the remaining amount of ink appears.

|
Note:
|
| |
If any of the ink cartridges installed in the Stylus Photo RX600 are broken, incompatible with the printer model, or improperly installed, EPSON Status Monitor 3 will not display an accurate calculation for the amount of ink remaining in any of the ink cartridges. Be sure to replace or reinstall any ink cartridge indicated by EPSON Status Monitor 3.
|
|
Progress meter
The progress meter dialog box appears automatically when you send a print job to the Stylus Photo RX600. You can check the remaining amount of ink from this dialog box.

[Top]
For Macintosh
You can check the amount of ink remaining in the ink cartridges using EPSON StatusMonitor. Follow the steps below.
For Mac OS X
|
|
Double-click Macintosh HD (the default hard disk name), double-click the Applications folder, then double-click the EPSON Printer Utility icon. The Printer List window appears.
|
|
|
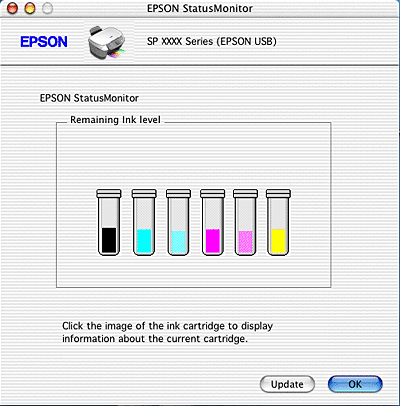
Select the Stylus Photo RX600, then click OK. The EPSON Printer Utility dialog box appears.
|
|
|
Click the EPSON StatusMonitor button. The EPSON StatusMonitor dialog box appears.
|
|
Note:
|
| -
The graphic displays the amount of ink that remained when EPSON StatusMonitor was first opened. To update the ink-level information, click Update.
|
|
| -
If any one of the ink cartridges that are installed in the Stylus Photo RX600 are broken, incompatible with the printer model, or is installed improperly, the EPSON StatusMonitor will not display an accurate calculation for the amount of ink remaining in any of the ink cartridges. Be sure to replace or reinstall any ink cartridge when indicated by the EPSON StatusMonitor.
|
|
For Mac OS 9
|
|
Access the Print or Page Setup dialog box
|
|
|
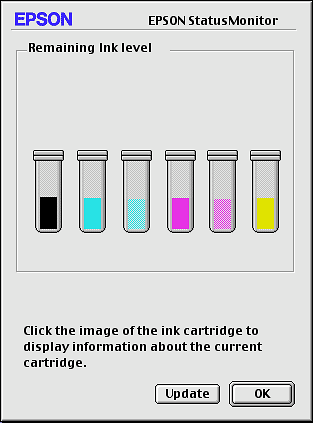
Click the  icon, then click the EPSON StatusMonitor button in the Utility dialog box. icon, then click the EPSON StatusMonitor button in the Utility dialog box.
|
A graphic displaying the remaining amount of ink appears.
| |
Note:
|
| | -
The graphic displays the amount of ink that was remaining when EPSON StatusMonitor was first opened. To update the ink-level information, click Update.
|
|
| | -
If any one of the ink cartridges that are installed in the Stylus Photo RX600 are broken, incompatible with the printer model, or is installed improperly, the EPSON StatusMonitor will not display an accurate calculation for the amount of ink remaining in any of the ink cartridges. Be sure to replace or reinstall any ink cartridge when indicated by the EPSON StatusMonitor.
|
|
[Top]
| Version 1.00E, Copyright © 2001, SEIKO EPSON CORPORATION |
