You can use
Document Capture Pro (Windows) or Document Capture (OS X) to upload
scanned images to a SharePoint server or a cloud service.
- Do one
of the following to start Document Capture Pro (Windows) or
Document Capture (OS X):
- Windows 8.x: Navigate to the Apps screen and select Document Capture Pro.
- Windows (other versions): Click
 or
Start, and select All Programs or Programs. Select EPSON
Software, then select Document
Capture Pro.
or
Start, and select All Programs or Programs. Select EPSON
Software, then select Document
Capture Pro. - OS X: Open the Applications folder, select the Epson Software folder, and select Document Capture.
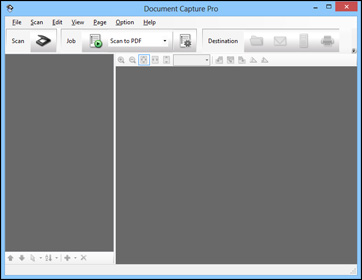
- Click
the
 Scan icon.
 - Click one of the cloud service Destination icons to choose where to save your scanned file. (If you cannot see all of the icons below, the service software may not be installed, or you need to click the arrow next to the icons.) You see the Transfer Settings window.