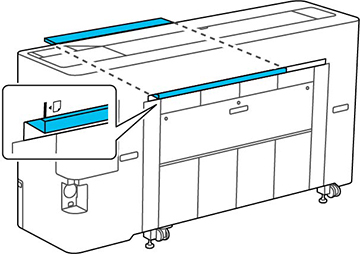
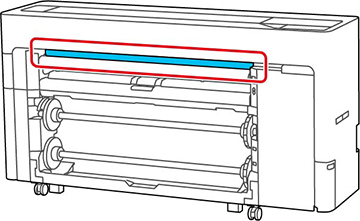
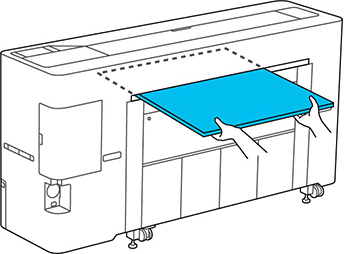
You can feed poster board from
the front or the back of the printer. In both cases, the poster
board is ejected from the front after printing.
Set the paper feed location from the LCD screen before printing.
Select  > General
Settings > Printer
Settings > Paper Source
Settings > Cut Sheet/Poster Board
Slot, and select Front or
Back.
> General
Settings > Printer
Settings > Paper Source
Settings > Cut Sheet/Poster Board
Slot, and select Front or
Back.
Load poster board in portrait orientation (short edge first), otherwise print quality may decline. You can load poster board up to .06 inches (1.5 mm) thick.
Note: Remove any
loaded paper, including roll paper, before you load cut sheet paper
or poster board. Make sure there is enough space at the back of the
printer.
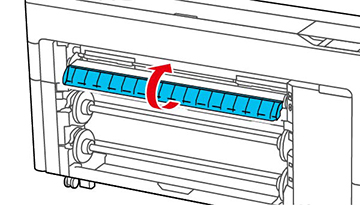
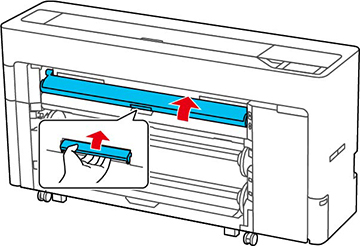
- Lift up the paper support lock lever
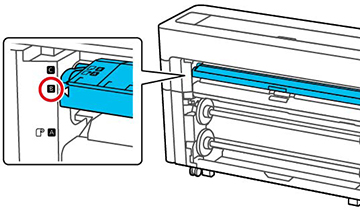
to release the paper support, then set the paper support to
position B (the middle position) as
shown.
- Do one of the following:
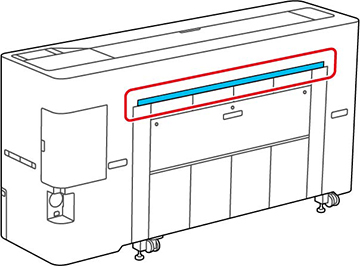
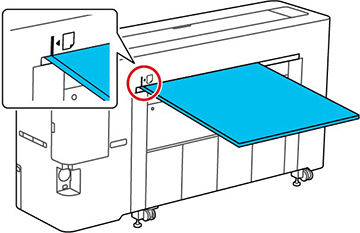
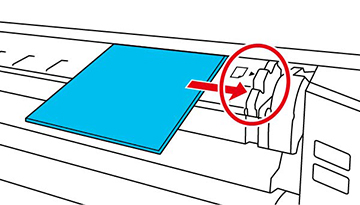
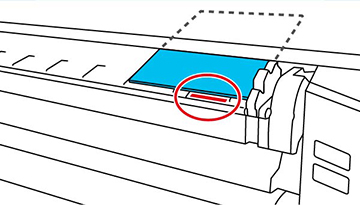
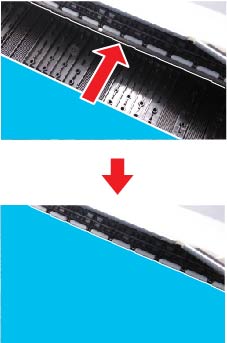
- Feeding from the back of the printer: Align the left edge of the poster board with the vertical line on the left side of the rear paper feed slot. Make sure the printable side is facing up.
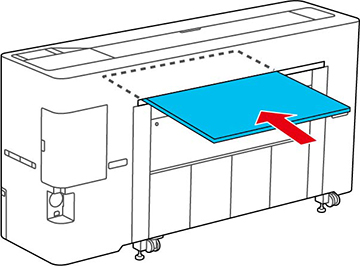
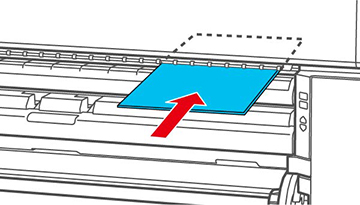
- Feeding from the front of the printer: Align the right edge of the poster board with the right side of the front paper feed slot. Make sure the printable side is facing up.
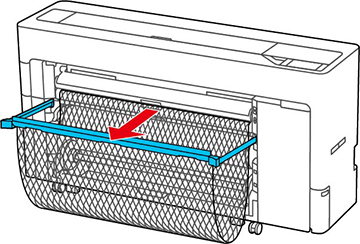
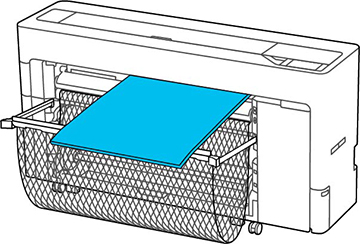
- When loading poster board that is 23.6 inches (600 mm) or longer, pull out the paper basket.
- To remove a poster board from the
printer, select > Paper
Setting > Poster Board
> Remove.
- Support the ejected poster board with both hands so that it does not touch the floor, then select OK.