![]()
User's Guide
|
|
Index |
|
Help |
|
Safety | |||||
|
|
Contents |
|
||||||||
|
|
|
|||||||||||||||||||||||||||||||||
Installing Components and Setting Up the Network Interface / How to Set UP the Network Interface
Follow the steps below to connect the network interface to the network.
| Note: |
|
|
 | Insert the Software CD-ROM in the CD-ROM drive. |
If the Installer dialog box does not appear automatically, double-click EPSetup.exe on the CD-ROM.
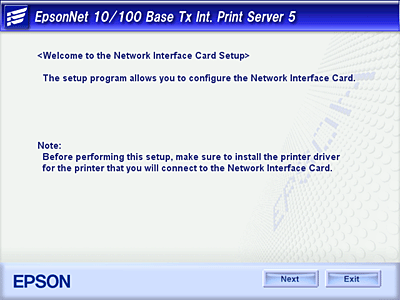
 | From the Welcome screen, click Next. |
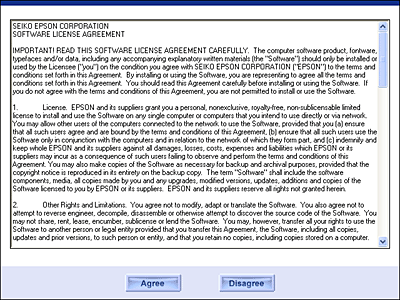
 | Read the license agreement, and then click Agree. |
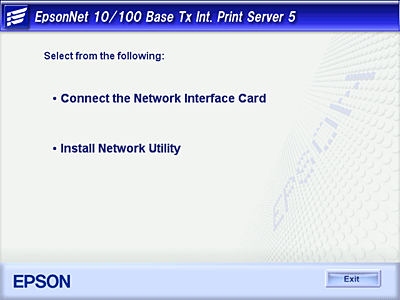
 | Select Connect the Network Interface Card. |
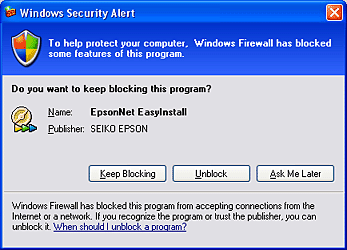
| Note for Windows XP Service Pack 2 users: |
|
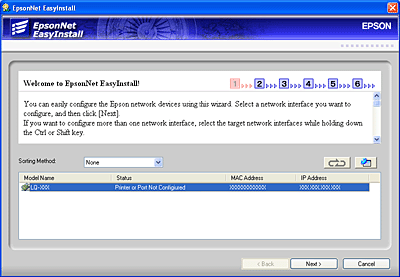
 | Select the target device on which the network interface is installed, and then click Next. |
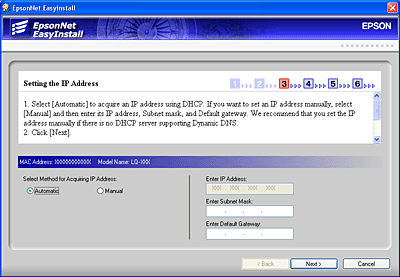
 | Select Auto or Manual to assign the IP address to the network interface. When you select Manual, you must enter the IP address, subnet mask, and default gateway. |
 | Confirm the settings you selected from the previous dialog box, and then click Next. |

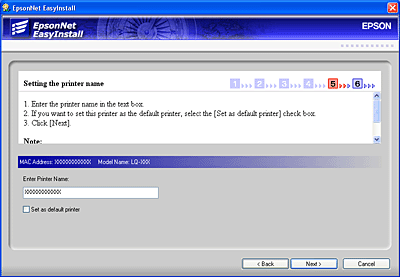
 | Enter the printer name and select the Set a default printer check box if necessary. Click Next. |
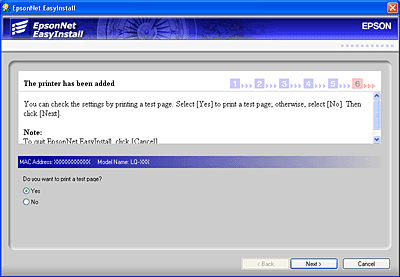
 | Select Yes or No to print a test page, and then click Next. |
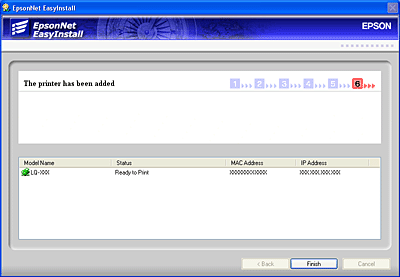
 | Click Finish to complete the configuration of the network interface. |
 Previous |
 Next |
| Version 1.00E, Copyright © 2003, SEIKO EPSON CORPORATION |