Your PictureMate will let you know when the photo cartridge is low or expended. When the photo cartridge is low, it's a good idea to get a new PictureMate Print Pack, which includes a new PictureMate Photo Cartridge (ink) and 100 sheets of PictureMate Photo Paper. Visit www.MyPictureMate.com for more information.
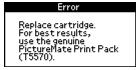
When PictureMate's photo cartridge is expended, you see this message on its LCD screen:
Tip: You can also check the ink level at any time (see Checking Your Cartridge Status (Ink Level)).
When the photo cartridge needs to be replaced and you are out of paper, see these sections:
You can check the status of your photo cartridge (ink level) on the PictureMate LCD screen or with your computer software. Go to the appropriate section:

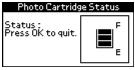
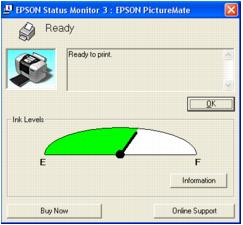
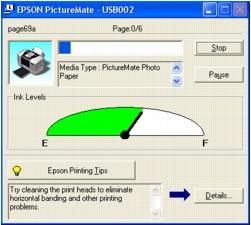
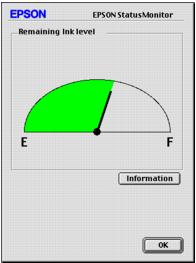
Note: If the status (ink level) is down to only one bar, you should buy a new PictureMate Print Pack. See Buying a PictureMate Print Pack for details.
You can check the amount of ink remaining in the photo cartridge using EPSON Status Monitor 3 or the progress meter.
Open EPSON Status Monitor 3 in one of the following ways.
A screen displays the remaining amount of ink.
The progress meter dialog box appears automatically when you send a print job to the printer. You can check the remaining amount of ink from this dialog box.
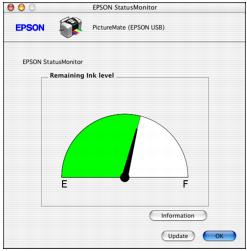
The EPSON StatusMonitor window appears, showing the approximate amount of ink left in the photo cartridge.
The PictureMate Print Pack has everything you need to print in one box; it includes 100 sheets of paper and a new photo cartridge.

You can buy a PictureMate Print Pack wherever PictureMate is sold.
You can also buy the Print Pack from the Epson Store at (800) 873-7766 (U.S. sales only). In Canada, please call (800) 463-7766 for dealer referral.
To buy the Print Pack on the Internet (U.S. sales only), visit www.epsonstore.com.
Note: Use your photo cartridge within six months of installing it and before the expiration date on the package.
Visit www.MyPictureMate.com for information about PictureMate, special offers, and accessories.
Warning: Keep ink cartridges out of the reach of children and do not drink the ink.
If ink gets on your hands, wash them thoroughly with soap and water. If ink gets in your eyes, flush them thoroughly with water.
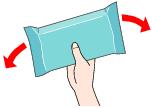
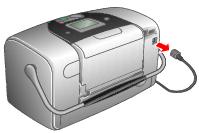
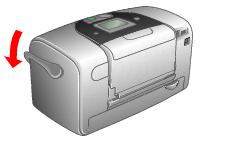
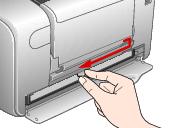
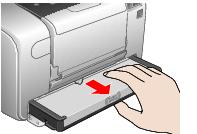
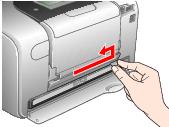
Caution: Don't touch the circuit board or remove the label. Install the photo cartridge immediately after you remove it from its package. If you leave a cartridge unpacked for a long time before using it, normal printing may not be possible.
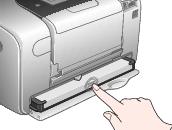
When your PictureMate recognizes the cartridge and charges the ink, you see an ink charging message.
Once charging is complete, you can begin printing again.