- Open your photo file and resize it as necessary.
- Open the File menu and click Print.
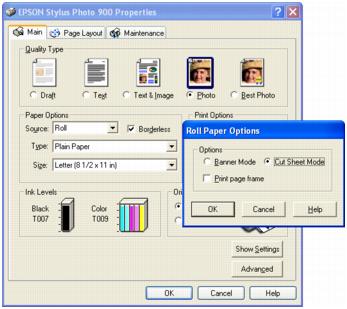
- Click Properties or Preferences. You see this screen:
- Choose Photo or Best Photo as the Quality Type.
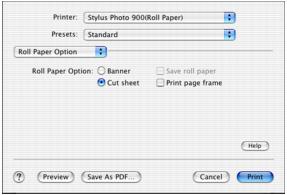
- Choose Roll as the paper Source. The Roll Paper Options window pops up, as shown above.
- Select one of the following Roll Paper Options:
- Banner Mode: Makes multi-page documents print as one large page. When the Save roll paper option is checked, the printer stops printing after the last word or image is printed.
- Cut Sheet Mode: Prints multi-page documents as individual pages. When the Print page frame option is checked, the printer prints a dashed line between each page.
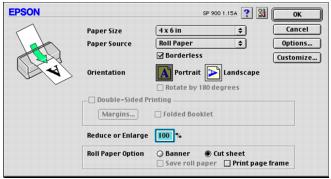
- Click Borderless if you want to print borderless photos.
- Select one of the following as the paper Type, depending on the paper you're using:
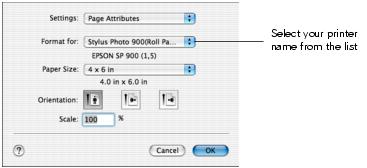
- Select the photo size as the paper Size setting.
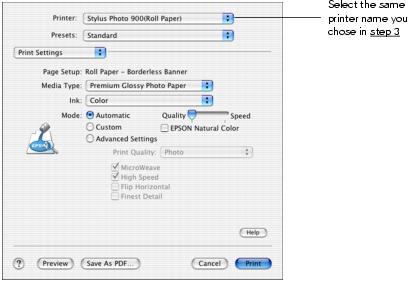
- Click OK, then click OK or Print.