![]()
Reference Guide
|
|
Index |
|
Search |
|
Glossary | |||||
|
|
Contents |
|
Help |
|
||||||
|
|
|
|||||||||||||||||||||||||||||||||
How To Scan / Use Tools and Make Settings in EPSON Scan
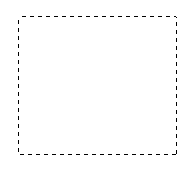
A marquee is a frame that you draw around a portion of a previewed image to select it. You can make up to 50 marquees in the Preview window. You can use marquees to select an area you want to enlarge using the Zoom Preview button.
To create a marquee, move the pointer over the image in the Preview window. The pointer becomes a set of cross-hairs. Hold down the mouse button and drag the cross-hairs over an area of the image, then release the mouse button to create the marquee.
The marquee appears as a moving dotted line. The point where you first clicked is anchored, but the rest of the frame is sizable and movable.
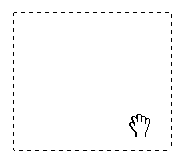
When the mouse pointer is placed within the marquee (the frame of the selected image area), it changes to a hand. You can click and drag the marquee anywhere in the Preview window. If you drag the hand while pressing the Shift key, the marquee is limited to vertical or horizontal movement.
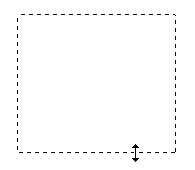
When the mouse pointer is placed on the edge of the marquee, it changes to an arrow that lets you re-size the marquee. If you drag the arrow while pressing the Shift key, the marquee is resized proportionally.
To remove or delete a marquee, click it to select it then click the  Delete Marquee button.
 Previous |
 Next |
| Version 1.00E, Copyright © 2001, SEIKO EPSON CORPORATION |