You can
load up to 36 photos (depending on the size) that meet the
scanner's photo specifications in the input tray.
Note: Loading
thick photos reduces the maximum number of photos that you can load
in a single batch.
Before loading multiple photos, prepare the photos as described in the link below.
Caution:
Do not load fragile or irreplaceable photos,
or valuable original documents or artwork, directly into the input
tray. This may wrinkle or damage the original. Load these originals
one at a time using a carrier sheet.
Follow these guidelines when loading photos:
- Do not mix photos and documents. Scan documents separately.
- Scan photos of the same size in a batch.
- Do not add more photos during scanning.
- The total thickness of the photo stack must be less than 0.3 inch (8 mm) including any curve in the photos.
- Photos may stick together depending on their paper types and thickness. It is best to scan photos in an environment between 59 to 77°F (15 to 25°C) with 40 to 60% humidity to prevent photos from sticking together.
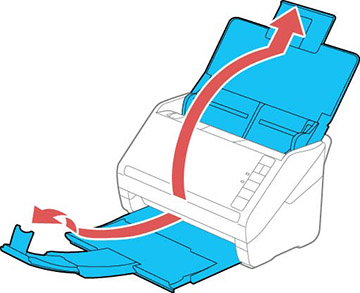
- Open the
scanner cover, pull up the input tray extension, extend the output
tray, and open the stopper.
Note: Make sure you adjust the position of the stopper to correctly fit the size of the ejected photos.Note: If you are loading a photo that is longer than 12.1 inches (307.3 mm), do not extend the input or output tray extensions and do not open the stopper.
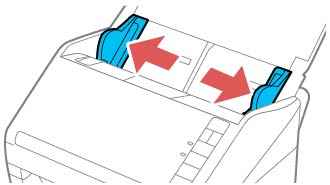
- Slide the input tray edge guides all the way out.
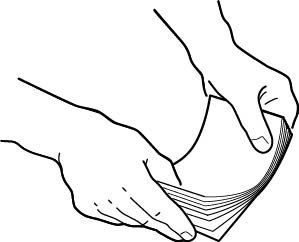
- Fan your
stack of photos and tap them gently on a flat surface to even the
edges.
Note: If you are loading a Polaroid or other instant photo, a photo that is longer than 12.1 inches (307.3 mm), or a photo inside the carrier sheet, load only one photo at a time.Note: If you are scanning a Polaroid or other instant photo, or a panoramic photo longer than 15.5 inches (393.8 mm), make sure you select the correct photo type under Scan Settings in the Settings menu.
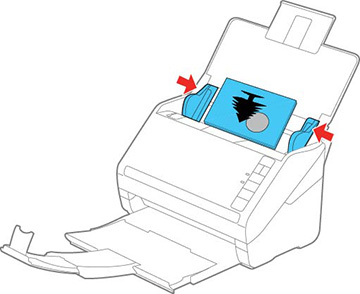
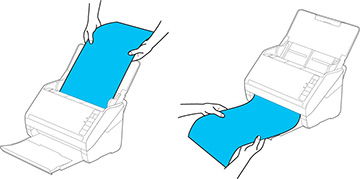
- Load
your photos in the center of the input tray faceup, in landscape
orientation and top edge first, then slide them in until they meet
resistance.
Note: If you have both portrait- and landscape-oriented photos in the same stack, you can rotate the portrait images after scanning.
- Slide the edge guides against the edges of the photos.