Before
printing, carefully load a sheet of Digital-Transfer-Film on the
platen.
Note: Make sure
that the correct platen is installed on the printer. If a sleeve
platen or medium-grooved platen is installed, replace
it.
Turn on
the printer, if necessary.
If the platen is not in the forward
position, press the moveable base button to move the
platen forward.
Make sure that both spacers A and B are installed, and
that the platen gap is set to position P. If the platen gap
is not set to position P, loosen the fixing lever, set the platen
gap lever to position P, and then tighten the fixing lever.
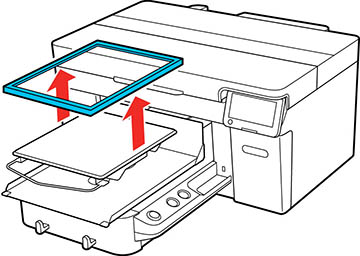
Remove the platen frame, if
necessary.
Make sure that the Platen Gap setting is set to Auto.
Check the preview of the print job in
Garment Creator 2 and load the film on the platen. Make sure to
place the film so that you avoid printing beyond the edges of the
film.
Note: The top of
the preview display area is the front of the printer (the part with
the hanger if you are using a hanger platen).
Secure
the film to the platen using opaque tape.
Note: Do not use
clear tape to secure the film. If parts of the clear tape peel off,
they may rub against the print head during printing.
 moveable base