
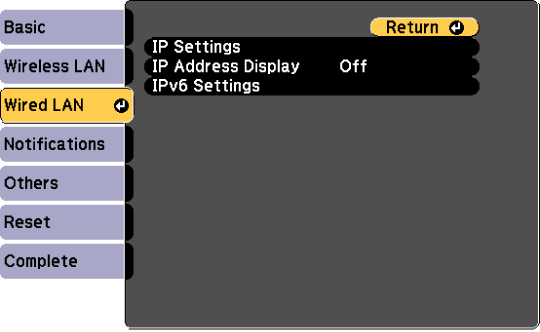
Settings on the Wired LAN menu let you select the wired LAN settings.
 Network >
Network Configuration
>
Wired LAN
Network >
Network Configuration
>
Wired LAN
|
Setting |
Options |
Description |
|---|---|---|
|
IP Settings |
DHCP IP Address Subnet Mask Gateway Address |
DHCP: set to On if your network assigns addresses automatically; set to Off to manually enter the network's IP Address, Subnet Mask, and Gateway Address using 0 to 255 for each address field. Do not use these addresses: 0.0.0.0, 127.x.x.x, 192.0.2.x or 224.0.0.0 through 255.255.255.255 (where x is a number from 0 to 255) for IP Address, 255.255.255.255 or 0.0.0.0 through 254.255.255.255 for Subnet Mask, and 0.0.0.0, 127.x.x.x or 224.0.0.0 through 255.255.255.255 for Gateway Address. |
|
IP Address Display |
On Off |
Select whether to display the IP address on the network standby screen. |
|
IPv6 Settings |
|
Select the IPv6 settings if you want to connect the projector to the network using IPv6: |
|
|
IPv6 |
IPv6: set to On if you want to connect the projector to the network using IPv6. IPv6 is supported to monitor and control the projector over a network using Epson Web Control and PJLink. |
|
|
Auto Configuration |
Auto Configuration: set to On to assign addresses automatically according to the Router Advertisement. |
|
|
Use Temporary Address |
Use Temporary Address: set to On if you want to use a temporary IPv6 address. |