
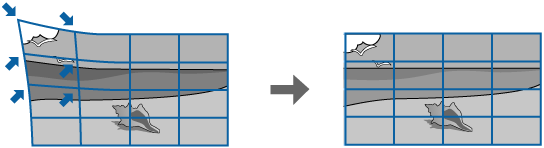
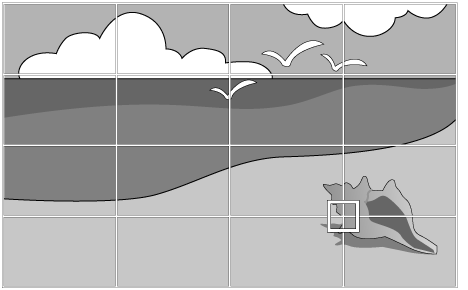
You can use the projector's Point Correction setting to fine-tune the image shape in portions of an image. The image is divided into a grid which allows you to move intersection points on the grid as necessary to correct distortion.

If you change the Screen Type and Screen Position settings, the adjustments are reset.
Turn on the projector and display an image.
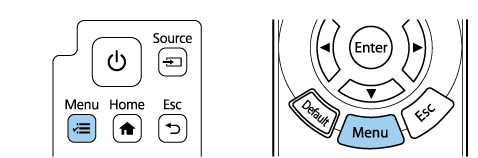
Press the Menu button on the control panel or remote control.
Select the Installation menu and press Enter.
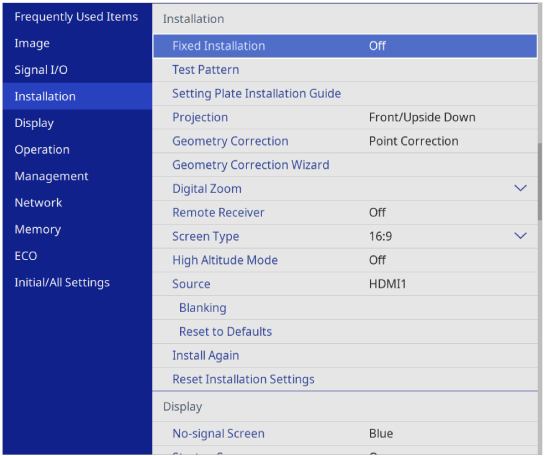
Select Geometry Correction and press Enter.
Select Point Correction and press Enter. Then select Yes and press Enter if necessary.
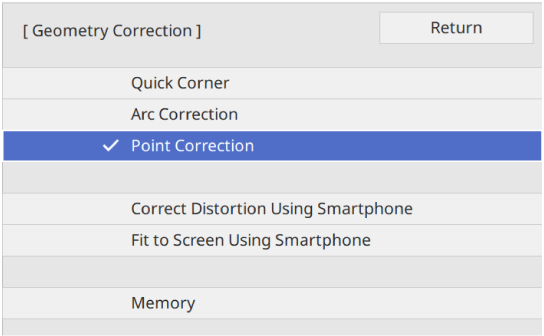
Select Point Correction and press Enter.
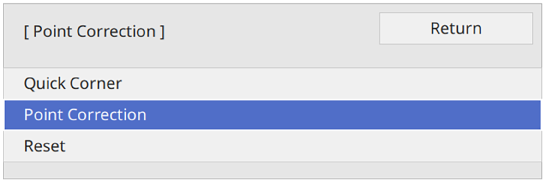
For fine tuning, select Quick Corner to correct the shape and size of an image roughly, and then select Point Correction to adjust them precisely.
Select the point number and press Enter.
If you want to change the grid color for visibility, press Esc, then select a different Pattern Color setting in the Point Correction menu.
Use the arrow buttons to move to the point you want to correct, then press Enter.
Use the arrow buttons to correct distortion as necessary.
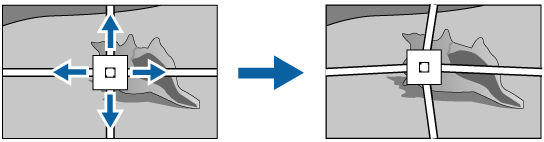
To correct any remaining points, press Esc to return to the previous screen, then repeat steps 8 and 9.
When you are finished, press Esc.
To save the current shape of an image you have adjusted, select Save Memory. You can save up to three image shapes in the memory.
 Installation >
Geometry Correction
>
Memory >
Save Memory
Installation >
Geometry Correction
>
Memory >
Save Memory
To reset the Point Correction settings to their original positions, select Reset on the Point Correction screen.
 Related Links