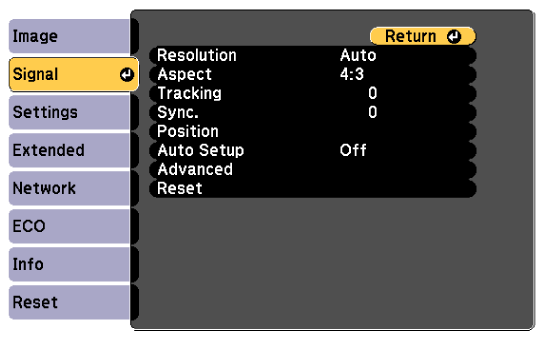
Normally the projector automatically detects and optimizes the input signal settings. If you need to customize the settings, you can use the Signal menu. The available settings depend on the currently selected input source.


You can restore the default settings of the Tracking, Sync., and Position settings by pressing the Auto button on the remote control.
To change settings for an input source, make sure the source is connected and select that source.
|
Setting |
Options |
Description |
|---|---|---|
|
Resolution |
Auto Wide Normal |
Sets the input signal resolution if not detected automatically using the Auto option. |
|
Aspect |
See the list of available aspect ratios. |
Sets the aspect ratio (width-to-height ratio) for the selected input source. |
|
Tracking |
Varying levels available |
Adjusts the signal to eliminate vertical stripes in computer images. |
|
Sync. |
Varying levels available |
Adjusts the signal to eliminate fuzziness or flickering in computer images. |
|
Position |
— |
Adjusts the image location on the screen. |
|
Auto Setup |
On Off |
Automatically optimizes computer image quality (when On). |
|
Overscan |
Auto Off 4% 8% |
Changes the projected image ratio to make the edges visible by a selectable percentage or automatically. |
|
Advanced |
Video Range |
Sets the video range to match the setting of the device connected to the HDMI port. |
|
|
Video Signal |
Video Signal: specifies the signal type from the input sources connected to the Video ports. If interference appears or no image appears when set to Auto, select the appropriate signal according to the connected equipment. |
|
Reset |
— |
Resets all adjustment values on the Signal menu to their default settings. |