
You can correct differences in projected image colors that occur between different image sources by adjusting the Gamma setting.

To optimize the color tone according to the scene, and to obtain a more vivid image, correct the image by adjusting the Scene Adaptive Gamma setting.
Turn on the projector and switch to the image source you want to use.
Press the Menu button on the control panel or remote control.
Select the Image menu and press Enter.
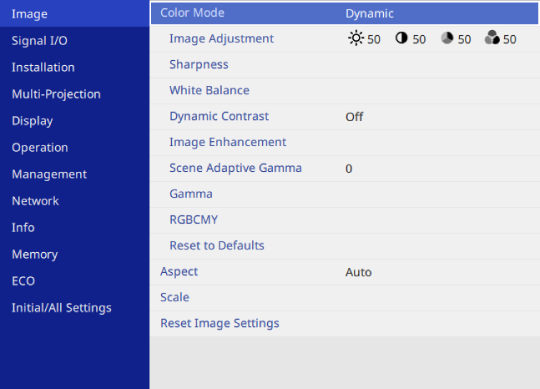
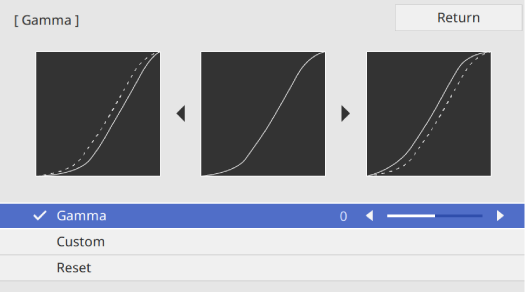
Select Gamma and press Enter.
Adjust the correction value for the Gamma setting and press Enter.
If you set the Color Mode setting to anything other than Dynamic or DICOM SIM in the projector's Image menu, the gamma setting method is reversed.
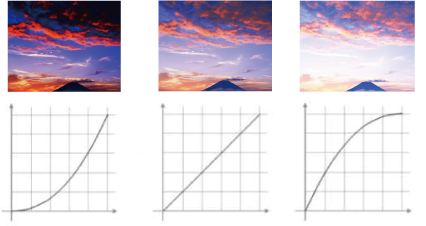
When you select a larger value, you can reduce the overall brightness of the image to make the image sharper. When you select a smaller value, the dark areas of images become brighter, but the color saturation for lighter areas may become weaker.
If you set the Color Mode setting to DICOM SIM in the projector's Image menu, select the adjustment value according to the projection size.
If the projection size is 120 inches or less, select a small value.
If the projection size is 120 inches or more, select a large value.
Medical images may not be reproduced correctly depending on your settings and screen specifications.
If you want to make finer adjustments, select Custom and press Enter.
Press the left or right arrow buttons to select the color tone you want to adjust on the gamma adjustment graph. Then press the up or down arrow button to adjust the value and press Enter.

Press Menu or Esc to exit the menus.
 Related Links