
Network administrators can install SNMP (Simple Network Management Protocol) software on network computers so they can monitor projectors. If your network uses this software, you can set up the projector for SNMP monitoring.
Press the Menu button, select the Network menu, and press Enter.
Select Network Settings and press Enter.
Select the Projector Control menu and press Enter.
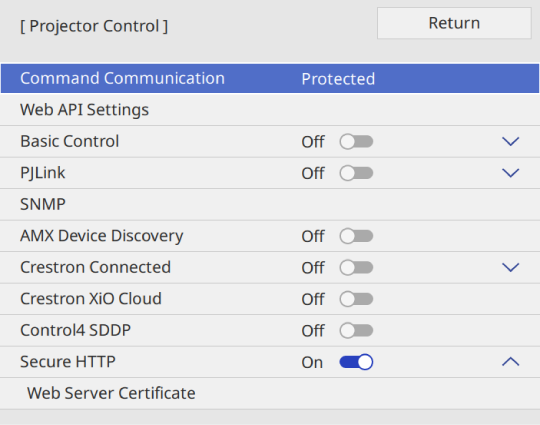
Select the SNMP setting and press Enter.
Select the SNMP agent version settings to match your network settings.
Do one of the following according to the SNMP agent version you selected.
SNMPv1/v2c: Set to On and enter the SNMP Community Name up to 32 alphanumeric characters long.
SNMPv3: Set to On and then go to step 8.
Enter up to two IP addresses to receive SNMP notifications as the Trap IP Address 1 and Trap IP Address 2 settings, using 0 to 255 for each address field.

Do not use these addresses: 224.0.0.0 through 255.255.255.255.
Then go to step 9.
Select your SNMP settings as necessary.
User name lets you enter a user name using up to 32 alphanumeric characters.
Trap IP Address 1 and Trap IP Address 2 lets you enter up to two IP addresses to receive SNMP notifications, using 0 to 255 characters for each address field.
Do not use these addresses: 224.0.0.0 through 255.255.255.255.
Authentication lets you select the type of SNMPv3 authentication.
Authentication Password lets you enter a password for the SNMPv3 authentication using up to 32 alphanumeric characters.
Encryption Type lets you select the type of SNMPv3 encryption.
Encryption Password lets you enter a password for the SNMPv3 encryption using up to 32 alphanumeric characters.
When you finish selecting settings, go back to the Network Settings screen, select Set, and follow the on-screen instructions to save your settings and exit the menus.